Seriously looking forward to what's to come. And as always, amazing work and effort! 

Over 1M Posts • 84K Topics • 9K Authors

 though!
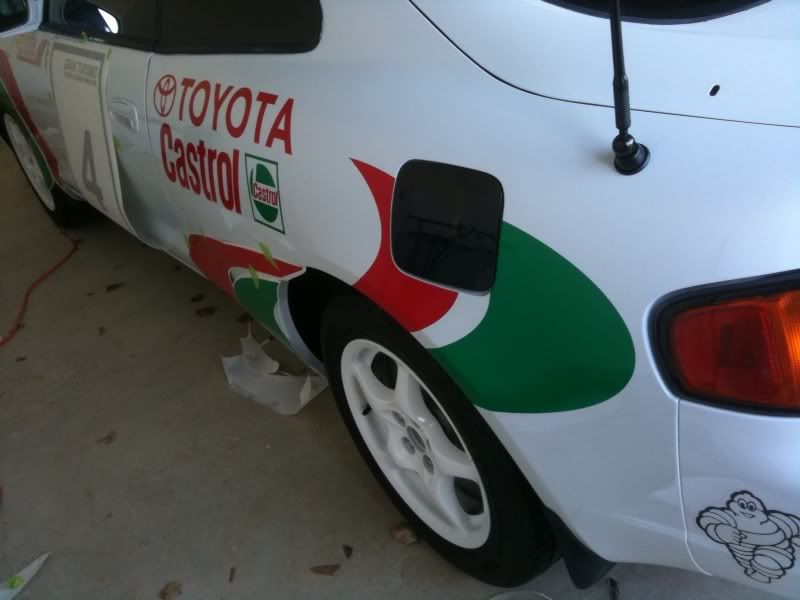
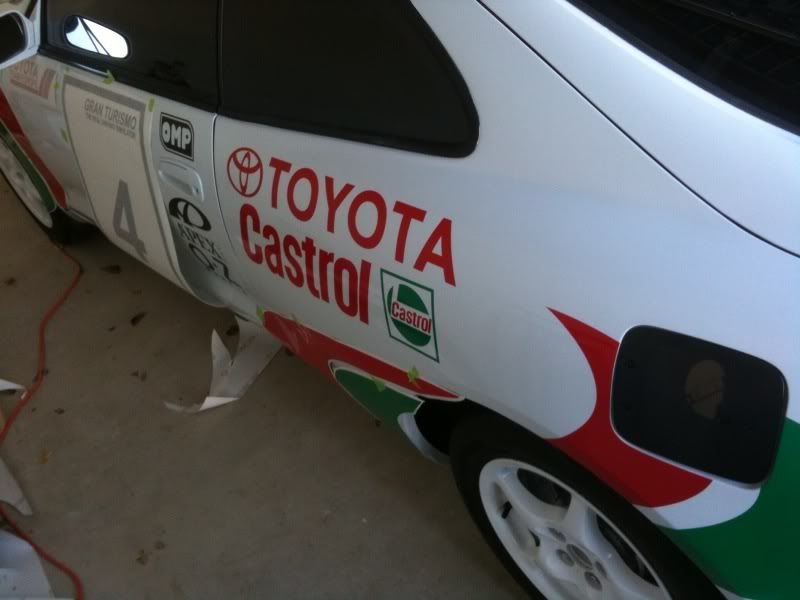
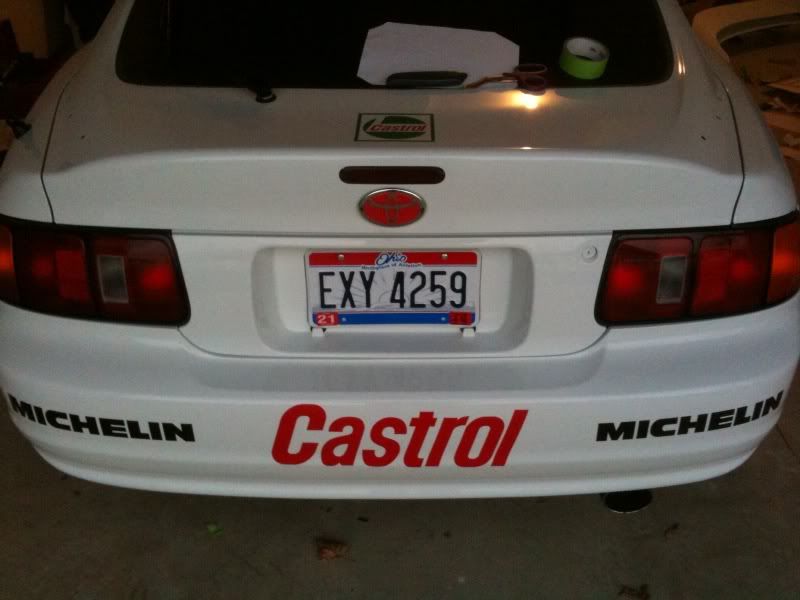
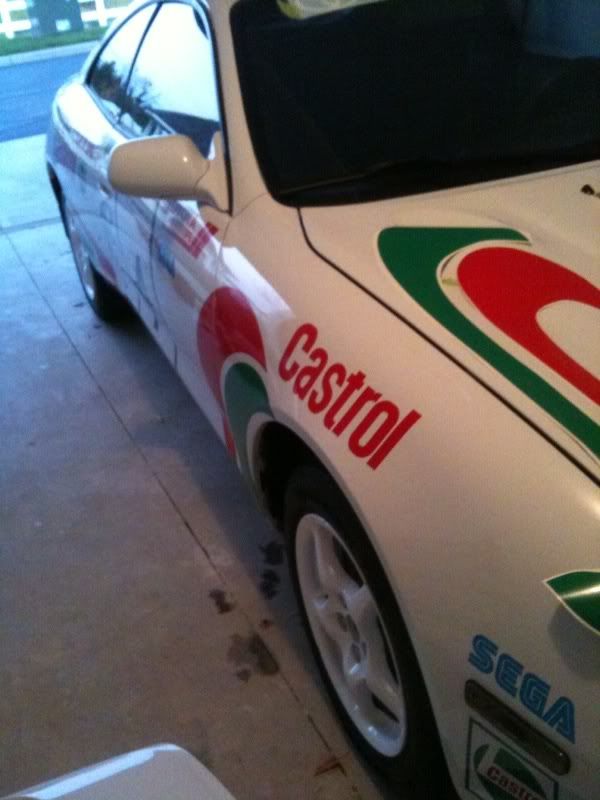
 . Can't wait to show it off in completion. Keep in mind, that even though the decals will be done tomorrow (hopefully), the large "Castrol" one on the spoiler won't be there obviously, as the paint hasn't fully cured yet.
 sorry to state the obvious, but its better to say something simple than to not say it and let someone **** up a job
 haha.
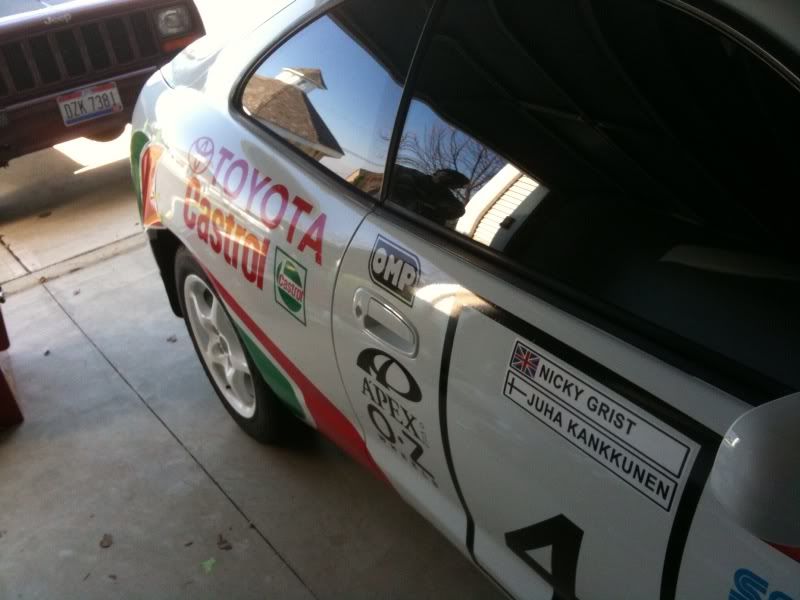
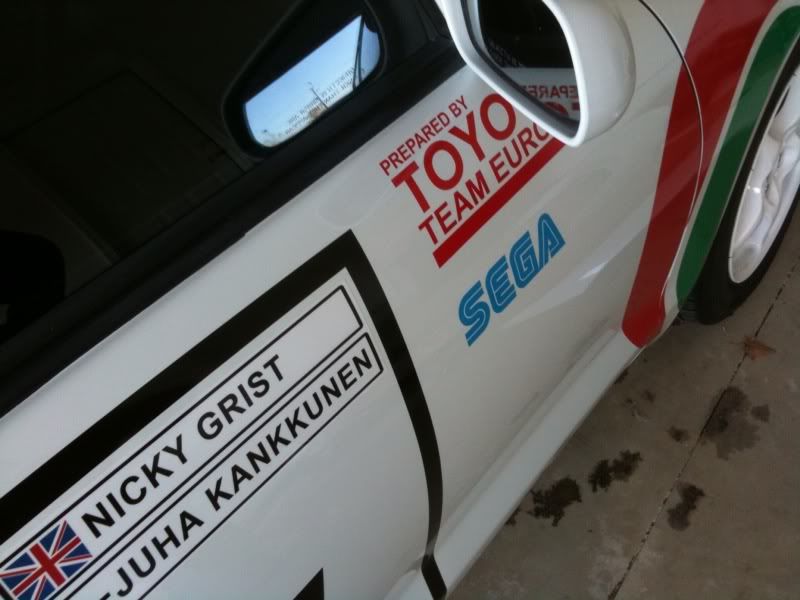
. Also, I'm not sure I'd want to broadcast my full name while I drive around.
:
haha.
. Also, I'm not sure I'd want to broadcast my full name while I drive around.
: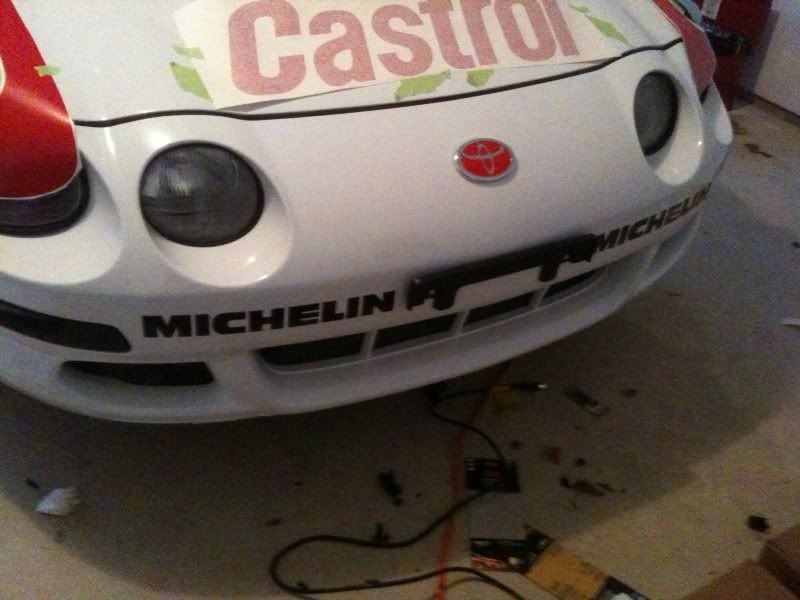

 . I repaired the door keyholes, but I have yet to do the one on the trunk. Trust me, it will be fixed very soon .
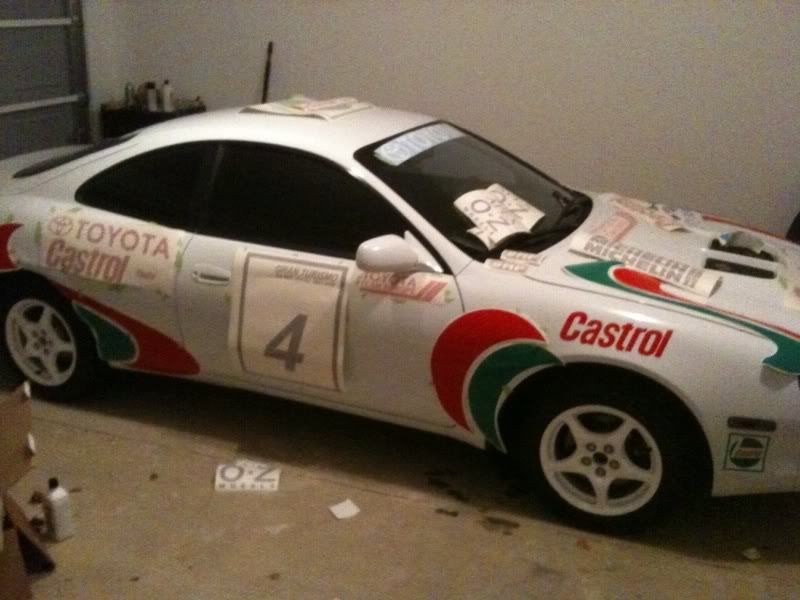
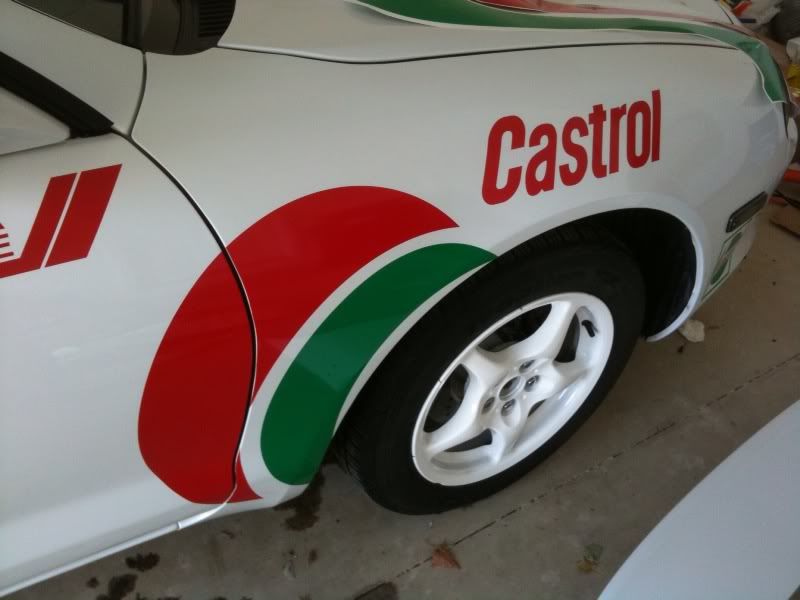
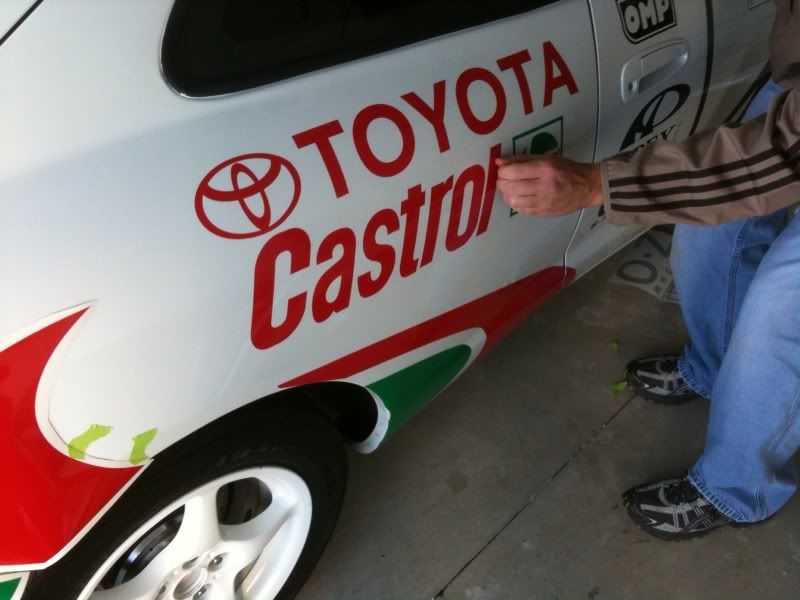
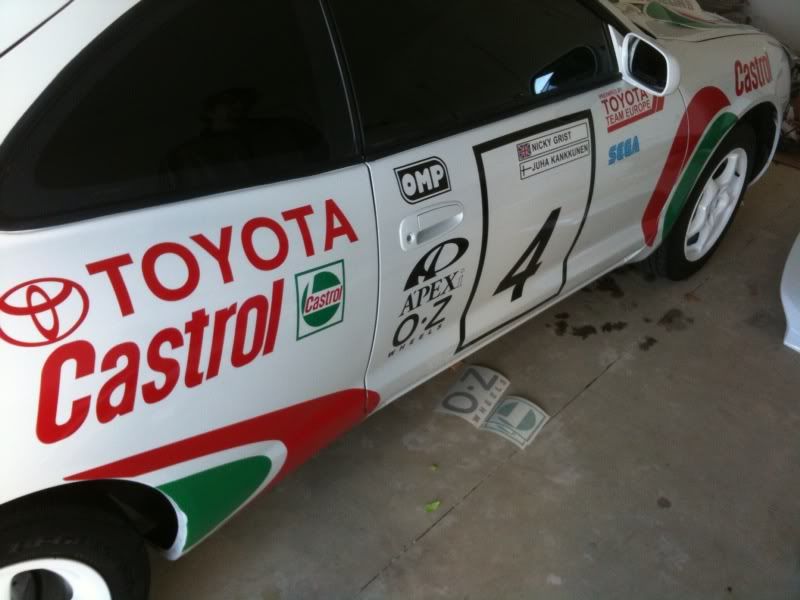
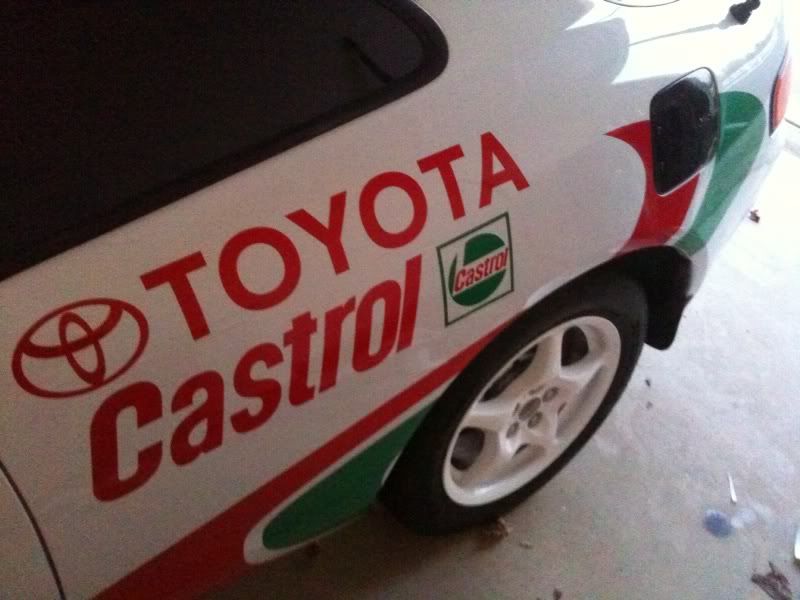
. Lol, yea I think I'll leave it as is . I should have new shots in the next up and coming days. Sorry it's not finished.. once again my friend was pulled away around 2pm to do things at home and then never came back.. oh joy! Still, we got a lot done, and I got a lot done by myself afterwords. On the big swoops though and large logos, I need another person to hold it as it's being put down, so this will have to wait till he's free again. Hopefully that will be tomorrow night.
. I repaired the door keyholes, but I have yet to do the one on the trunk. Trust me, it will be fixed very soon .
. Lol, yea I think I'll leave it as is . I should have new shots in the next up and coming days. Sorry it's not finished.. once again my friend was pulled away around 2pm to do things at home and then never came back.. oh joy! Still, we got a lot done, and I got a lot done by myself afterwords. On the big swoops though and large logos, I need another person to hold it as it's being put down, so this will have to wait till he's free again. Hopefully that will be tomorrow night.