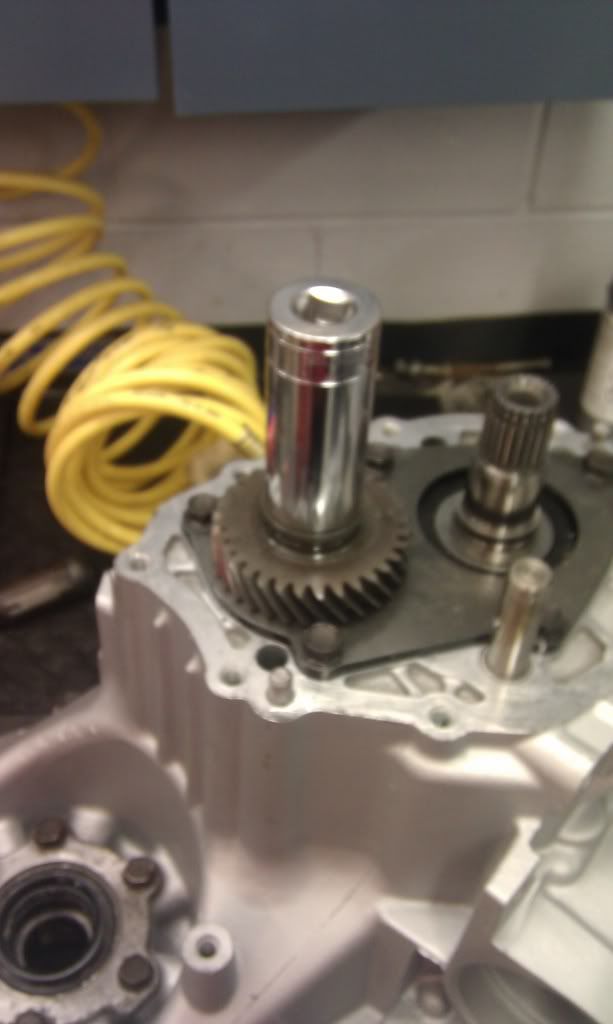
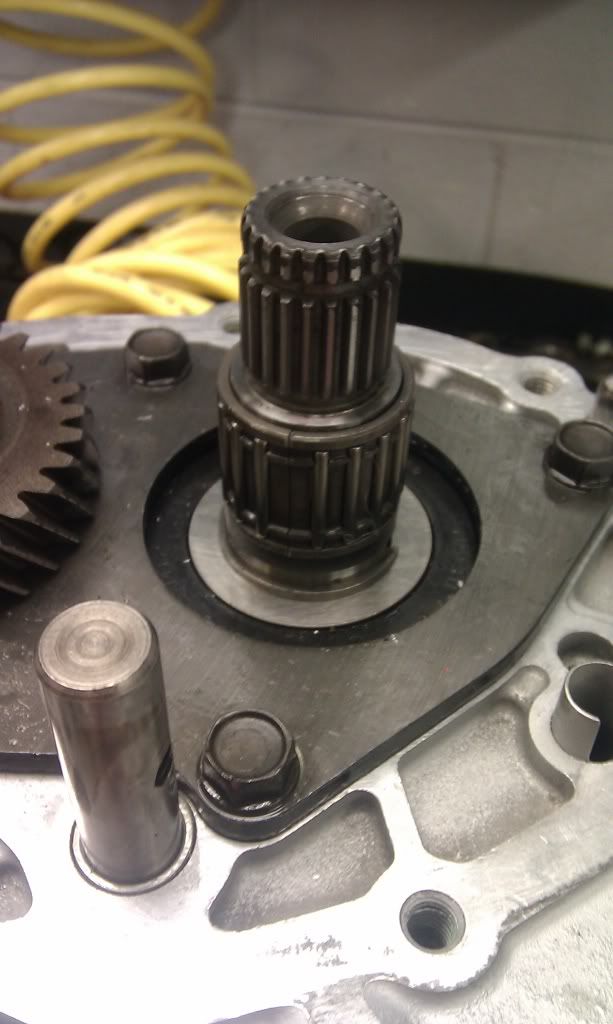
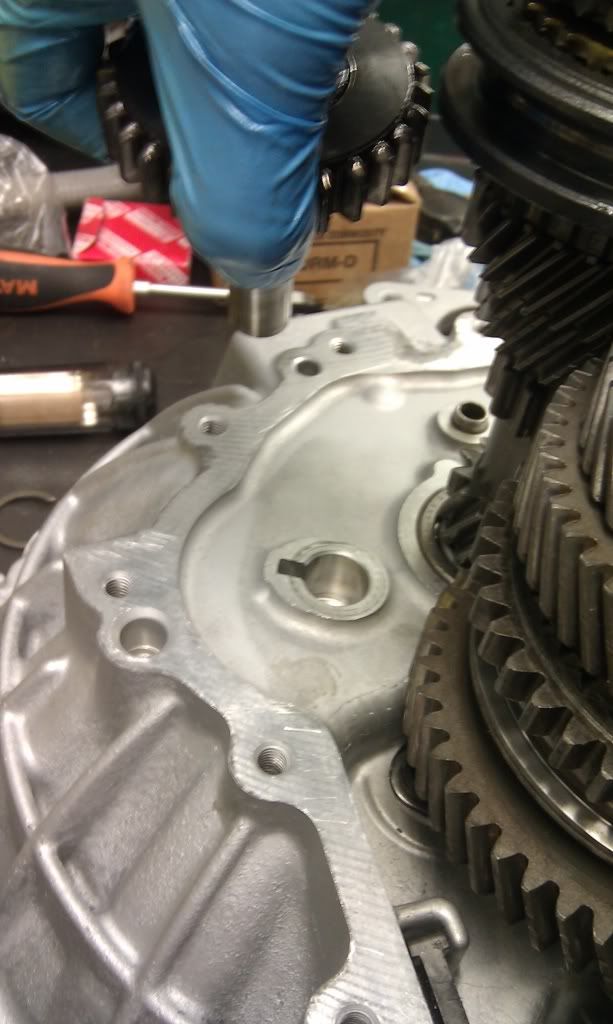
Over 1M Posts • 84K Topics • 9K Authors

2nd Gen 3sgte Build thread - 6G Celicas Forums

Topic #71721 103 posts Started by Stambo
How hard is it to take the tranny apart like that ?? I got a quote from a shop when I wanted to install a lsd in my s54 with the tranny taken off the car already they wanted $800 just to install it without parts with a kaaz lsd it'll almost be $2k, is it really that time consuming and hard to do ??

This post has been edited by Remy: Feb 13, 2011 - 11:30 AM

"To Protect And To Serve The Wealthy" -POLICE
i don't think it should cost that much. As long as you go slow and make sure you have everything in order it really isn't that bad.

2nd Gen 3s-gte.... It lives!97celiman"92-gt-quit making up random acronyms that dont mean anything. the only real acronym is JDM"
Thanks Stambo for making this...a step by step with pics involve and RIGHT part number would be very helpful. i also am planning to rebuild with my swap. ill say it again " THANK YOU..."
I'm going to try and get the diagrams of the input and output shafts disassembled and scan them onto my computer so that can also help you guys out.

2nd Gen 3s-gte.... It lives!97celiman"92-gt-quit making up random acronyms that dont mean anything. the only real acronym is JDM"
Parts are here!


Tranny case all painted up nice.


2nd Gen 3s-gte.... It lives!97celiman"92-gt-quit making up random acronyms that dont mean anything. the only real acronym is JDM"
Out put shaft


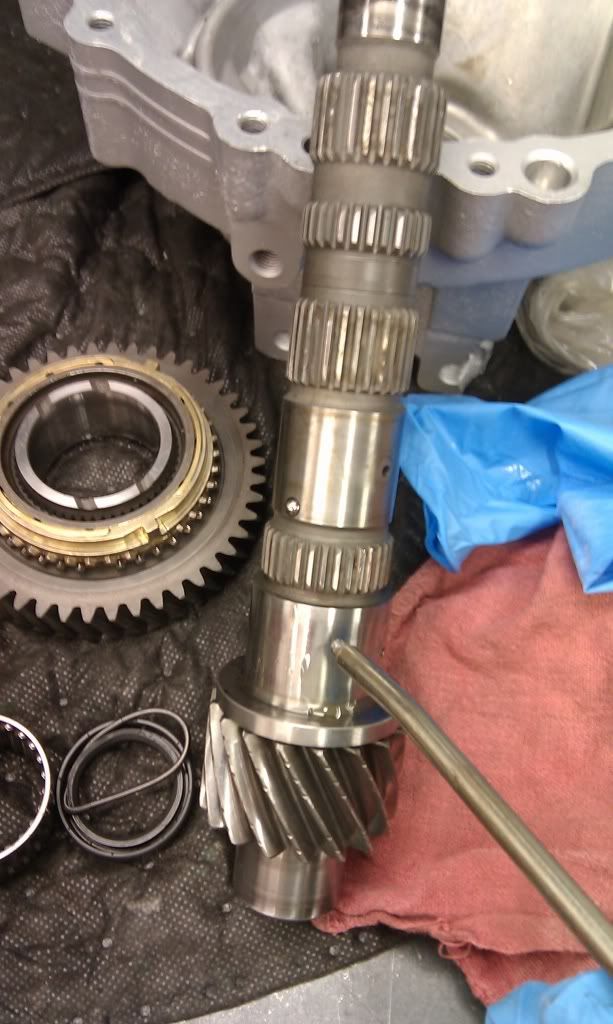
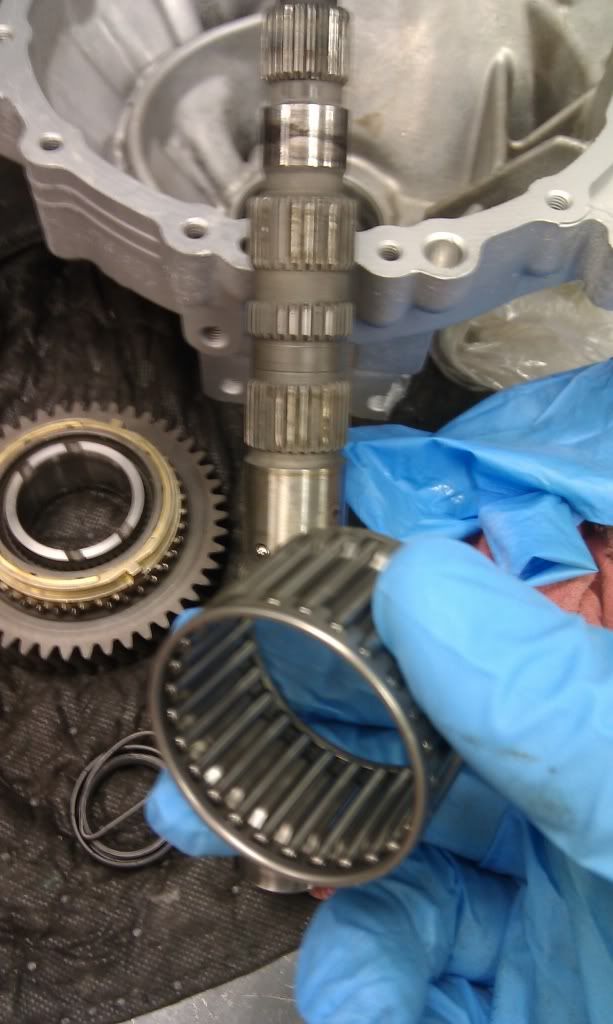
Needle bearing, put a squirt of oil on all move parts and parts being pressed on. It makes things go a lot smoother.

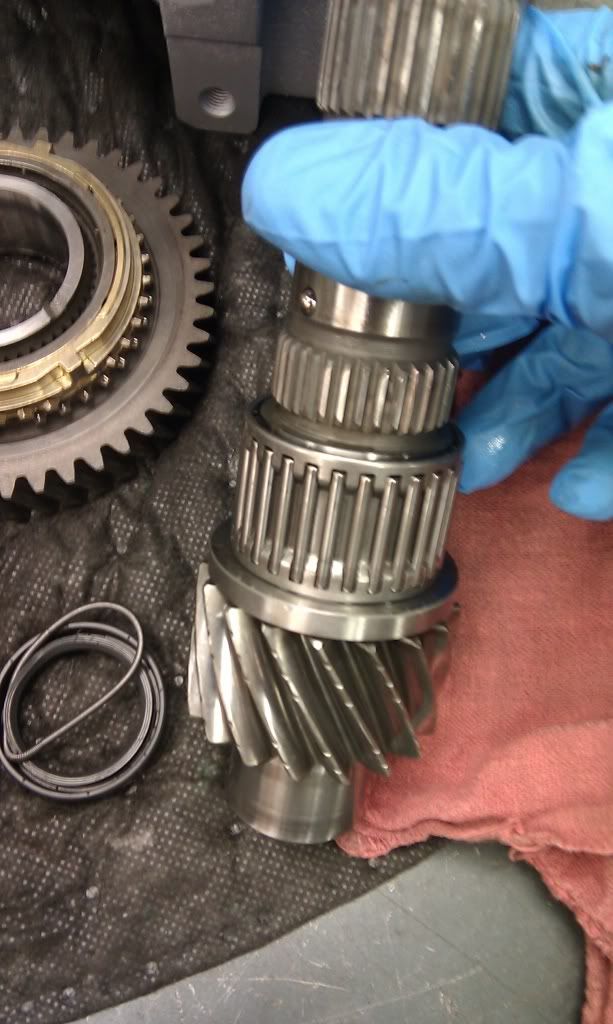
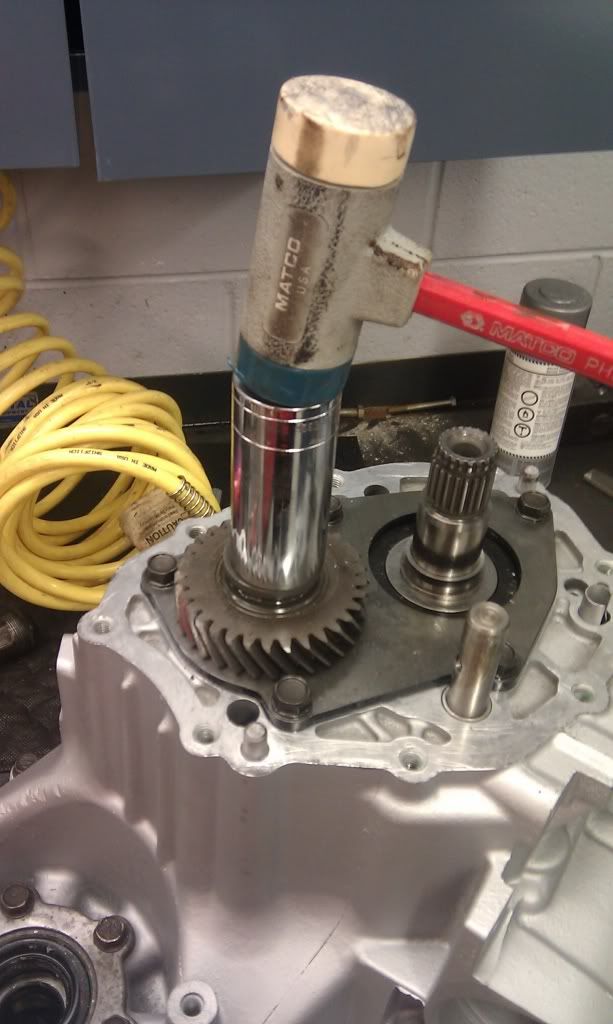
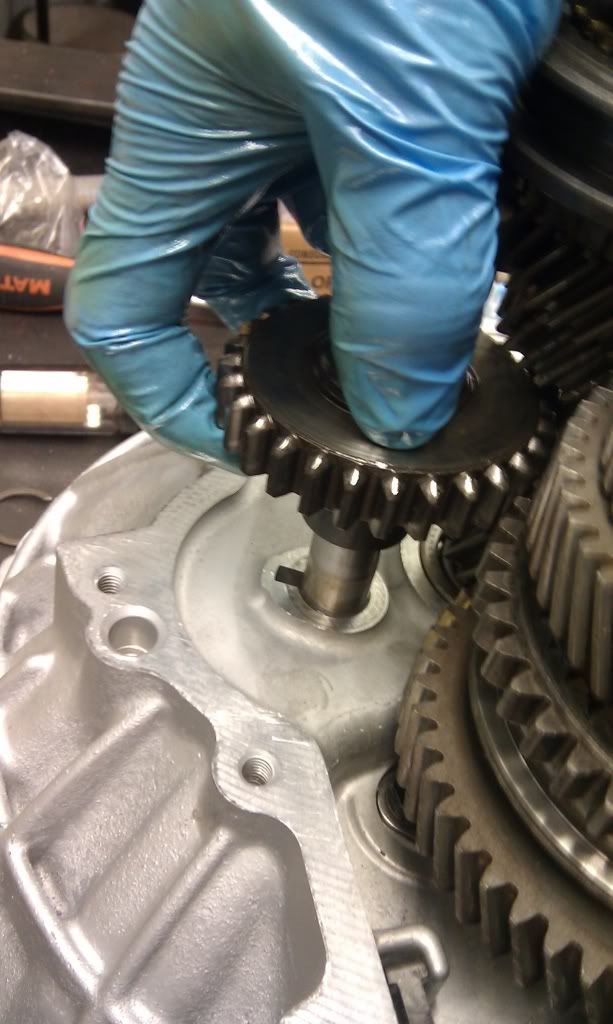
Needle bearing on the shaft. 1st gear goes ontop of the needle bearing.
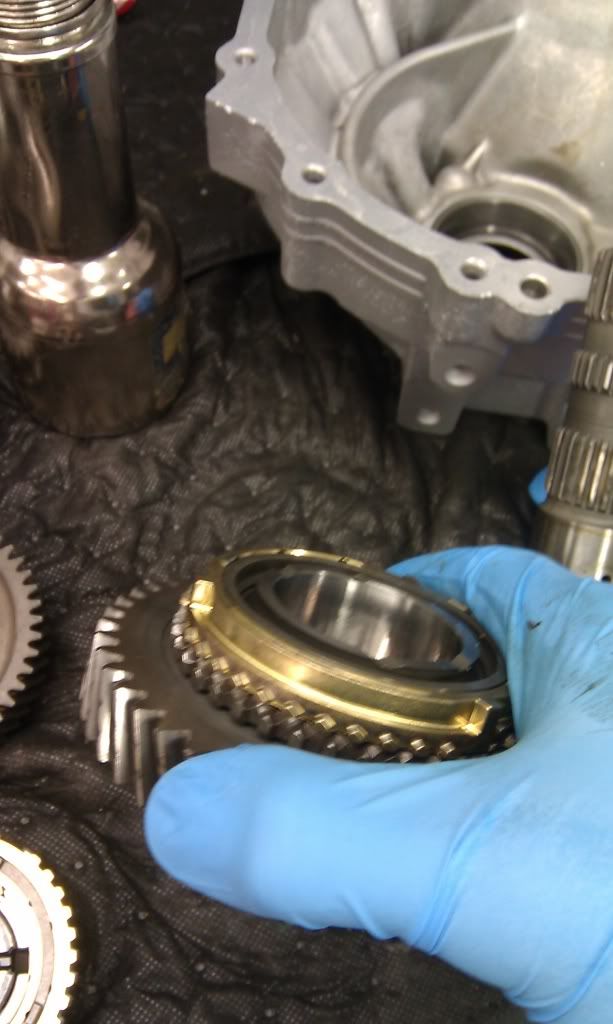
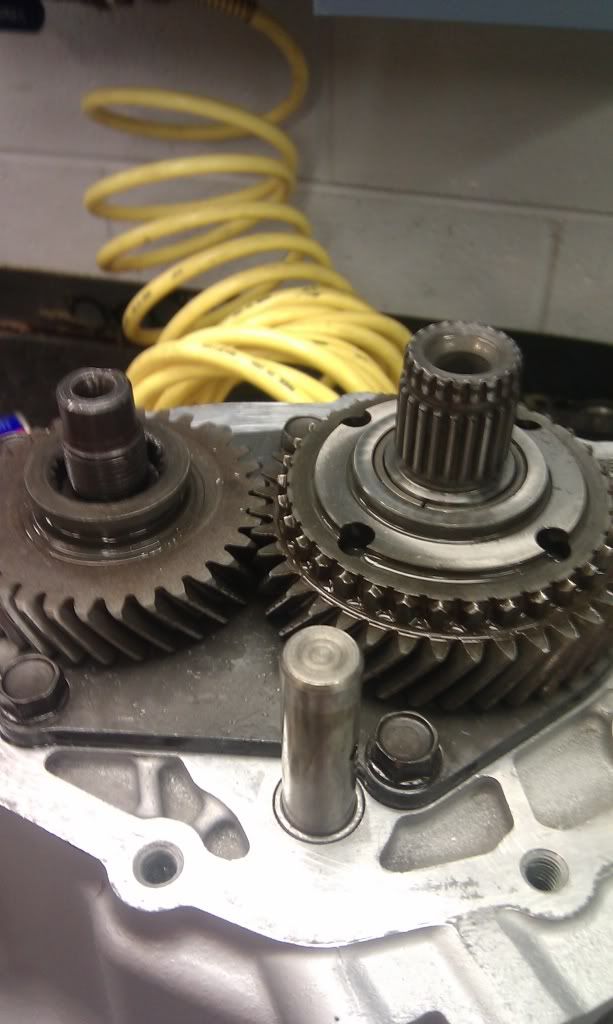
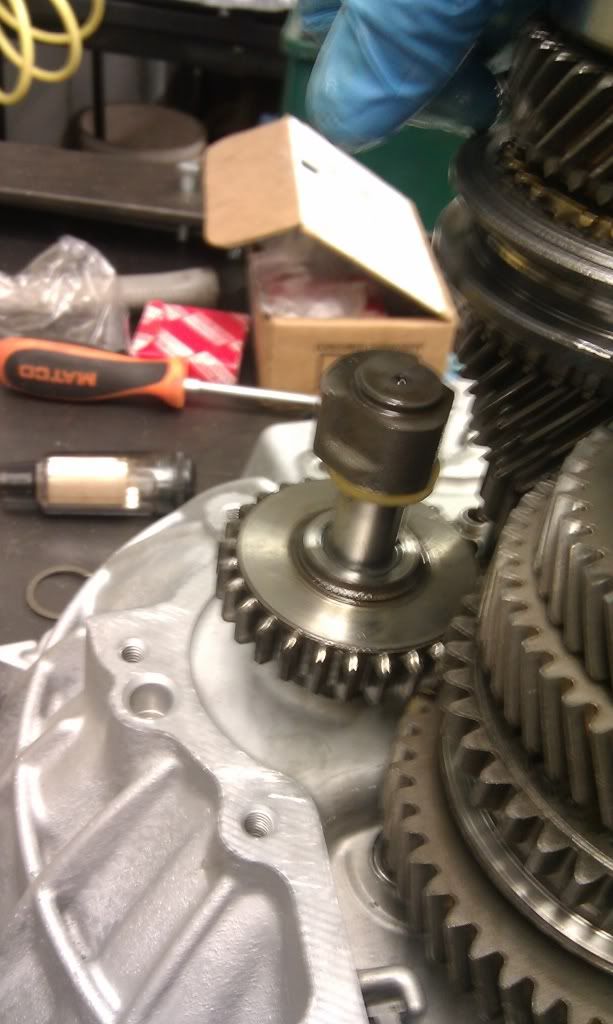
1st gear.

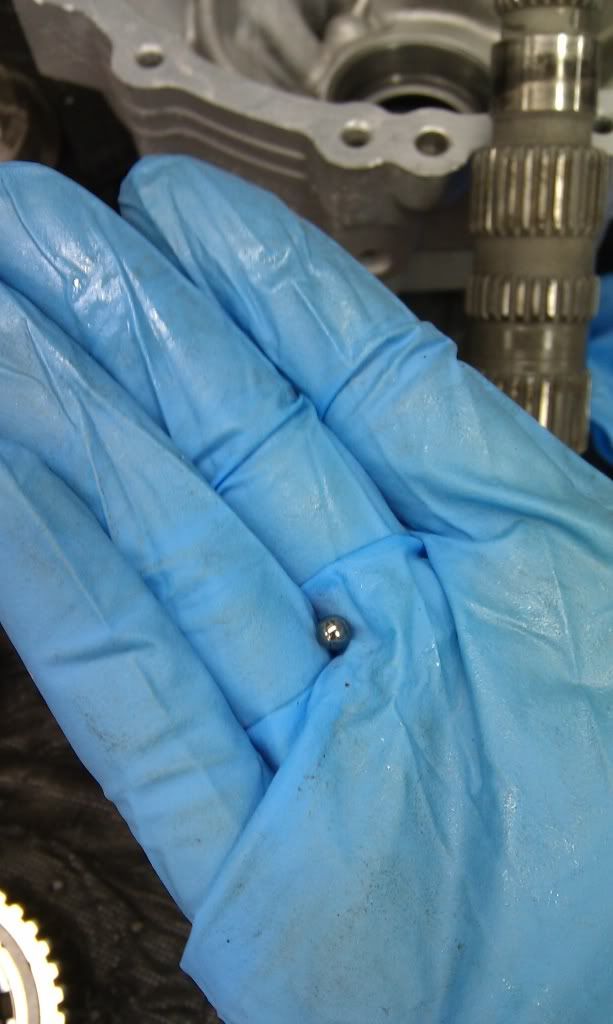
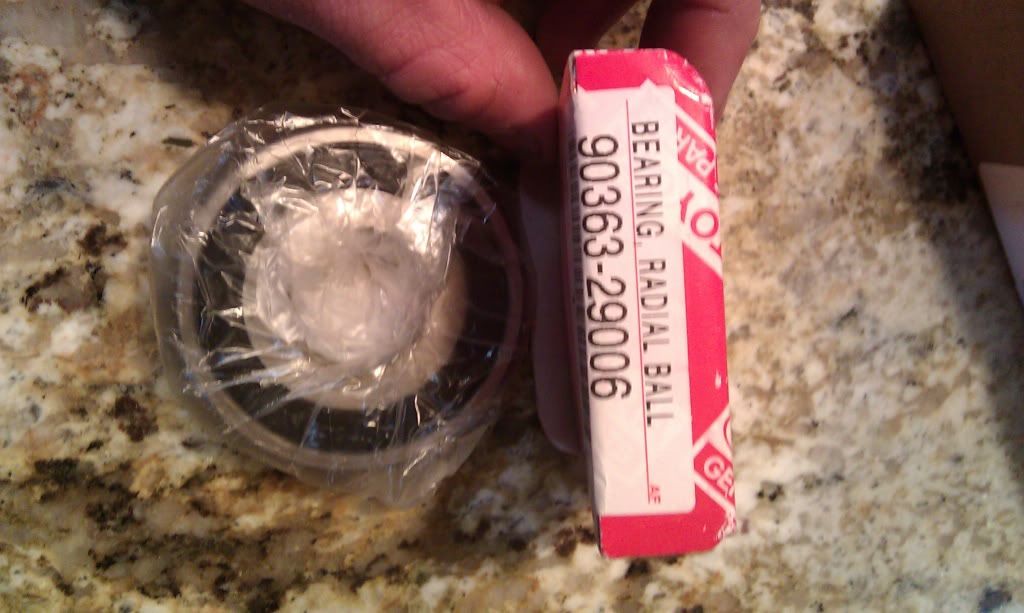
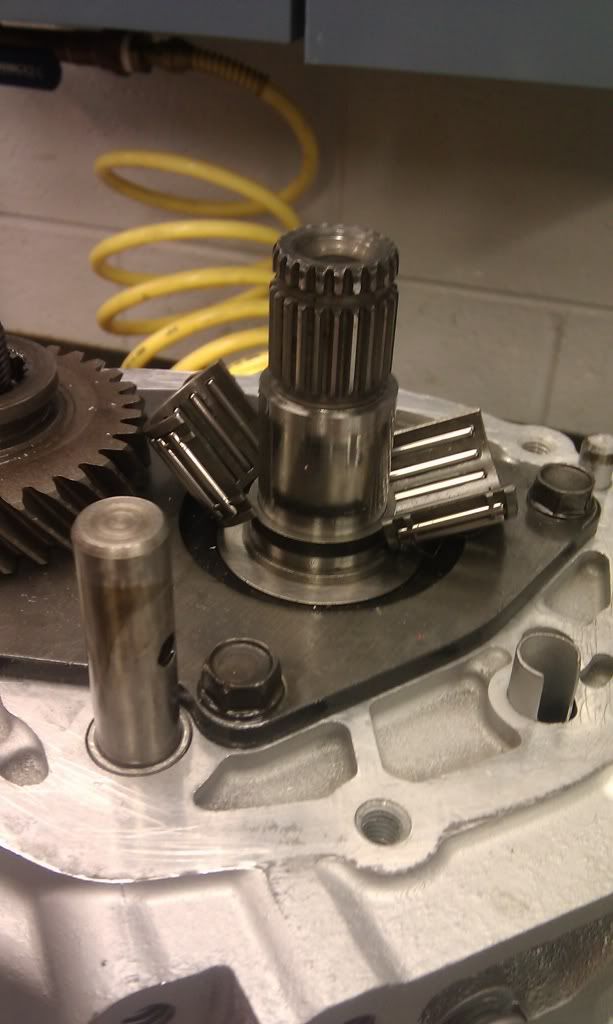
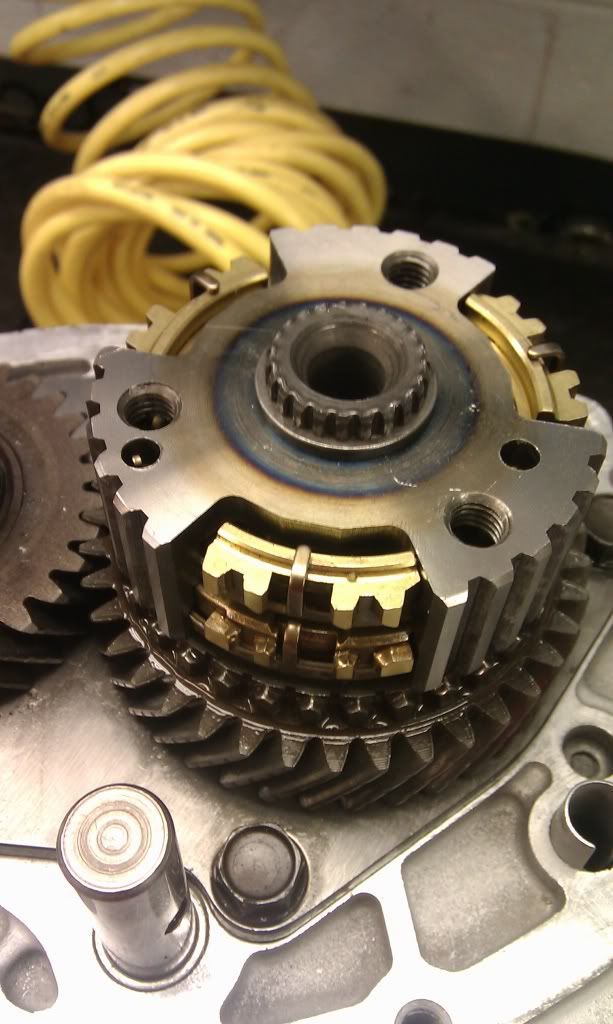
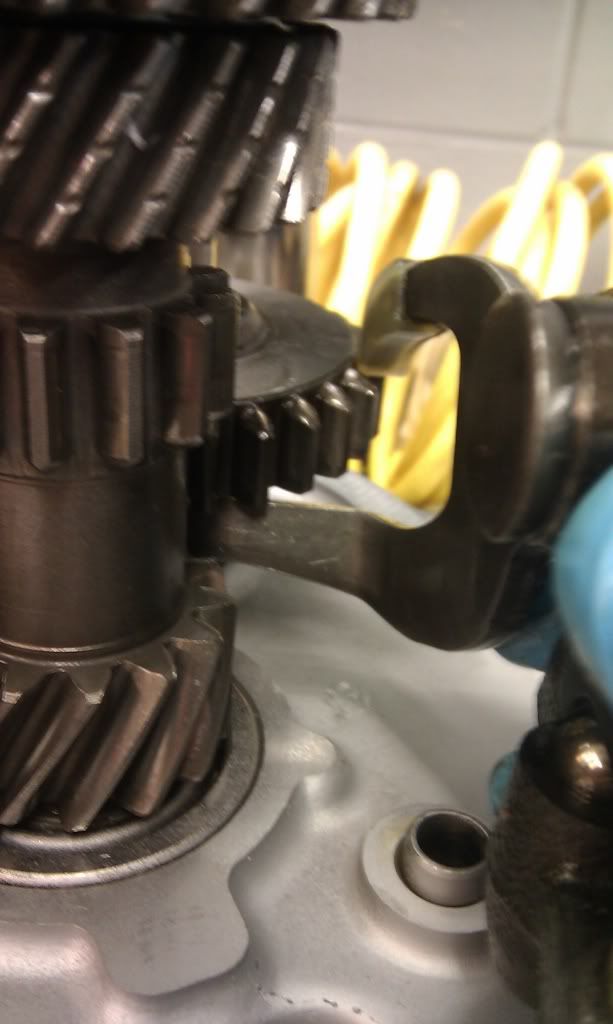
Don't loose this little ball bearing! I did and spent 30 minutes crawling on the ground to find it.

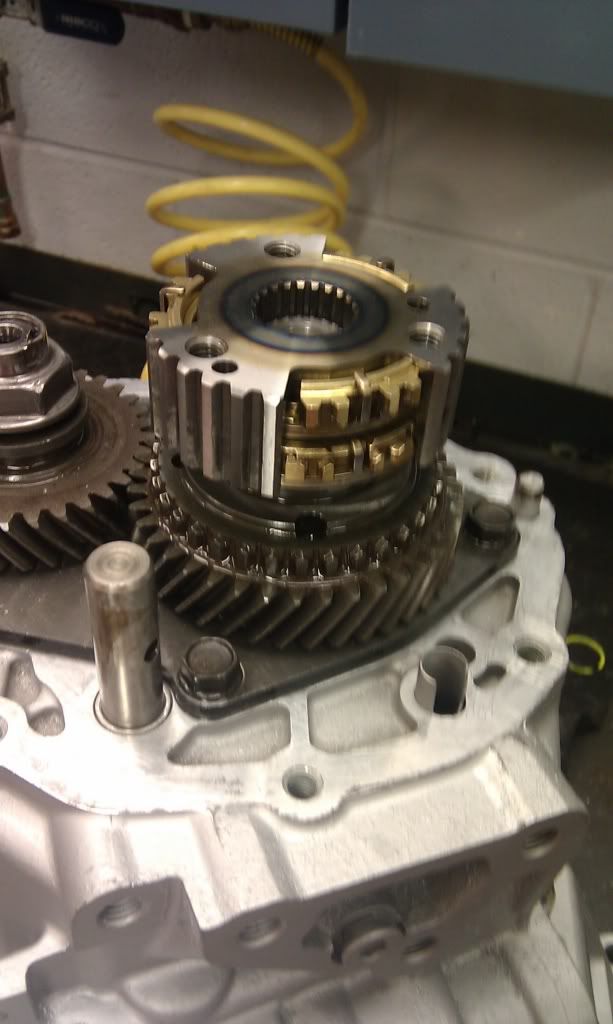
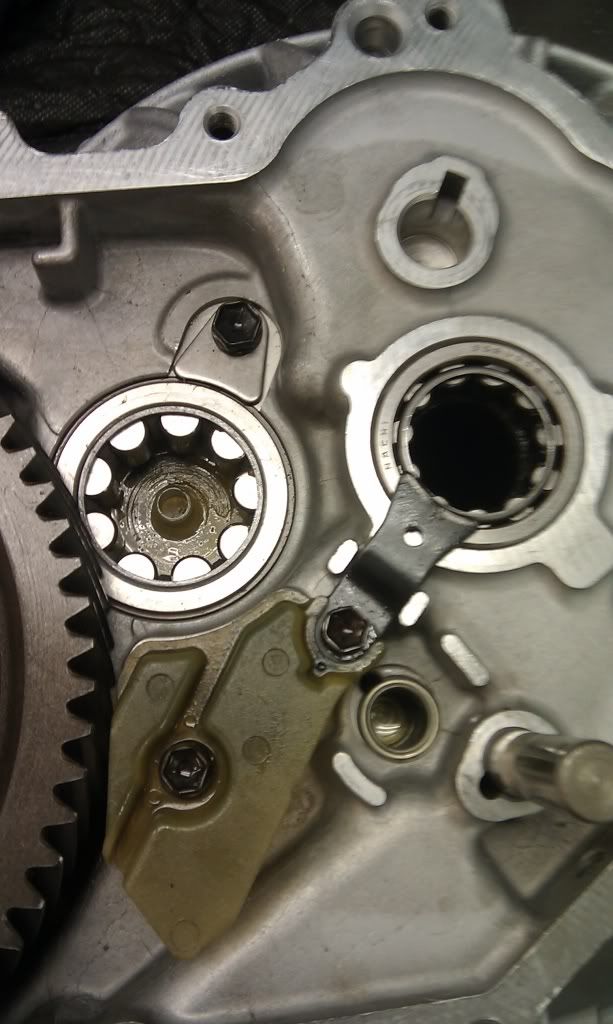
No ball bearing in the little hole.

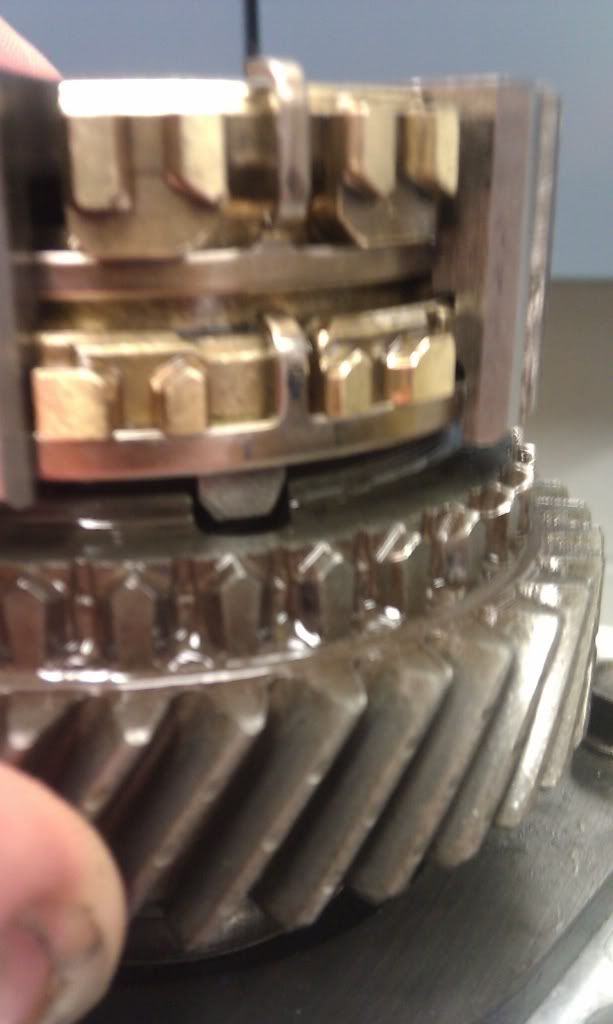
ball in the hole... easy enough.

Unfortunately I was in a hurry and didn't have time to take pictures of me pressing all the gears and bearings on the shafts. Ill print off some diagrams of an exploded view of the input and out put shafts to show how each part goes on.


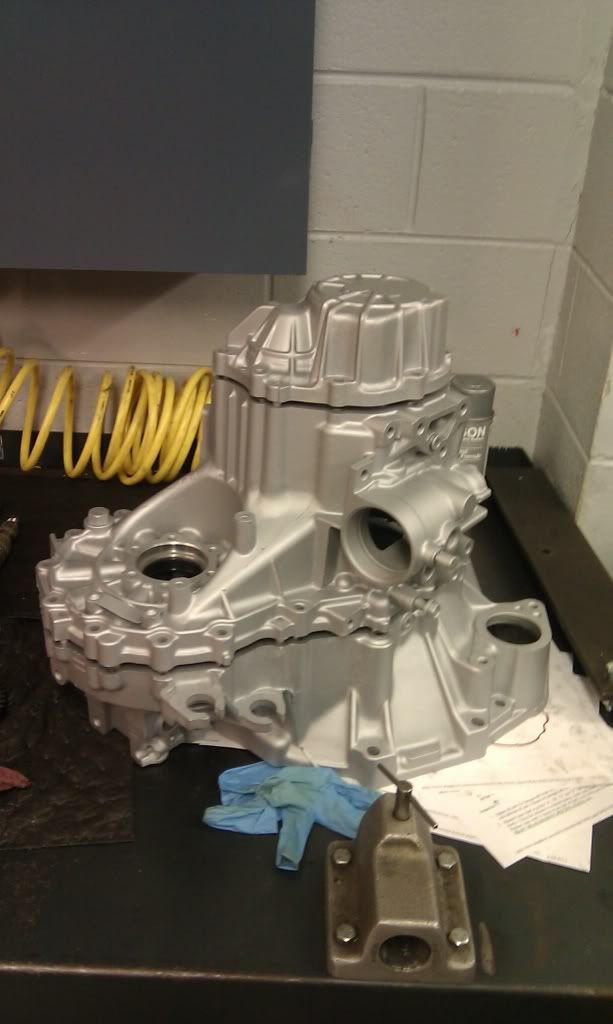
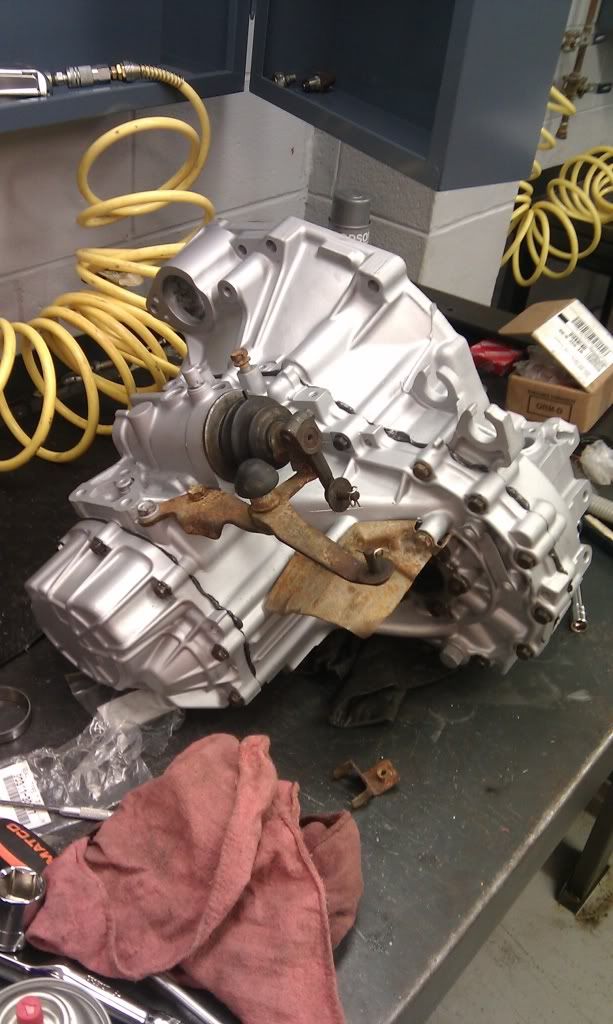
Put the diff back in the case. I didn't check bearing preload because i didn't replace the diff bearings because they all looked brand new. But remember where to put the shims on either side of the diff when you took it apart.


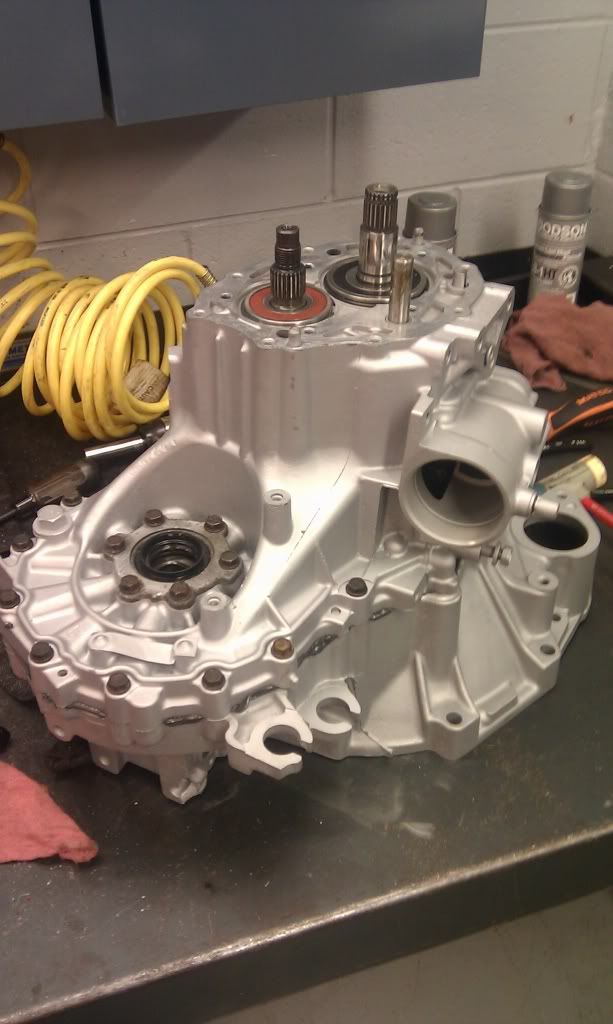
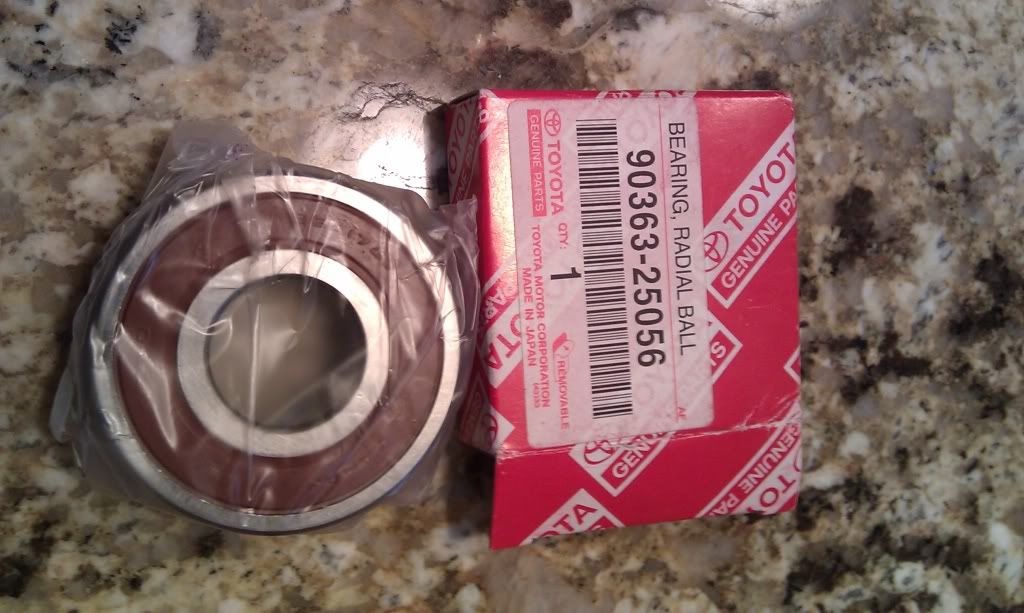
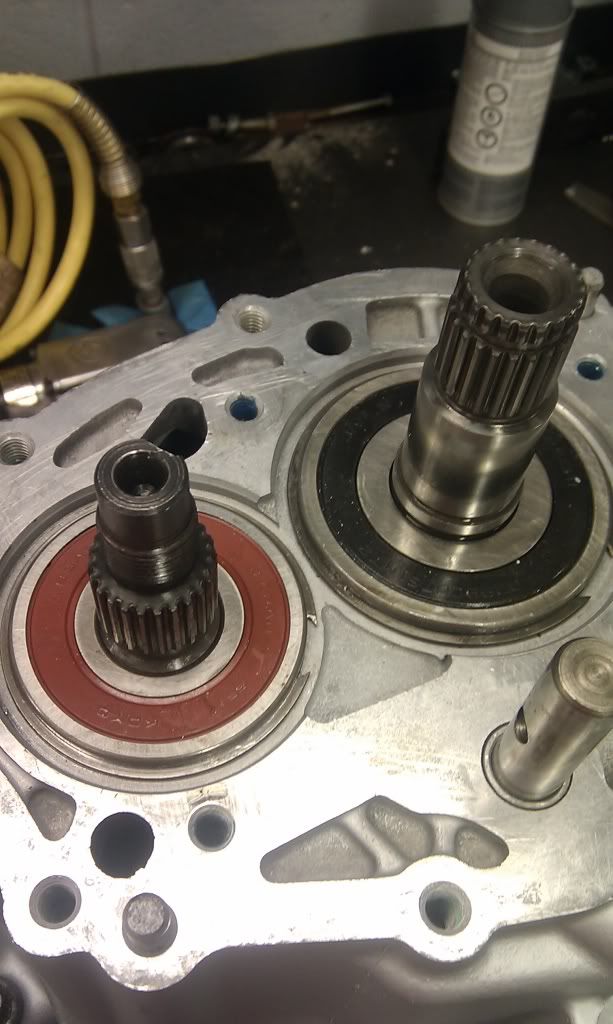
Input and out put shaft bearings in and the bearing retainers holding them in.


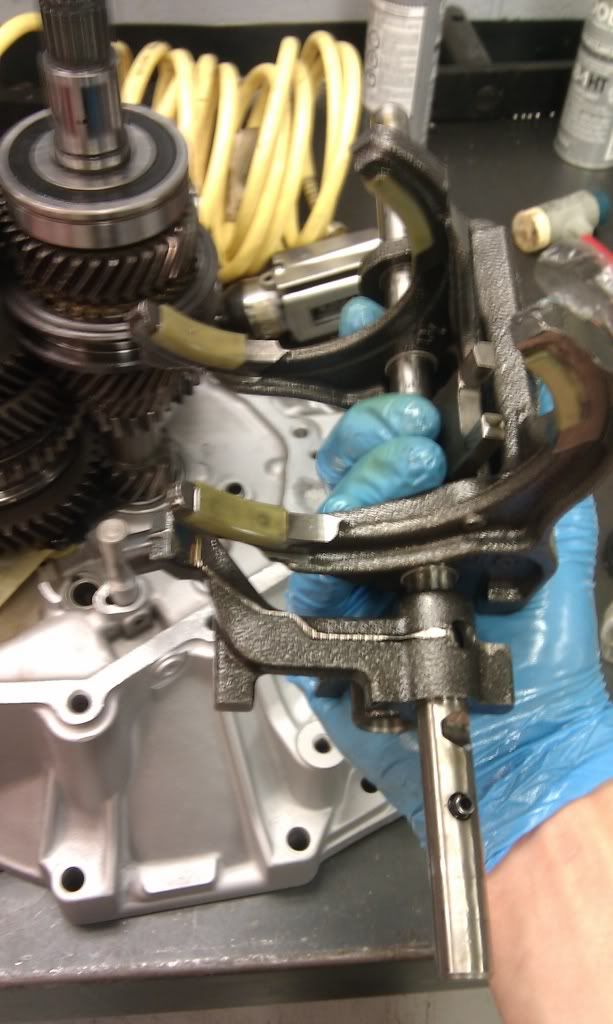
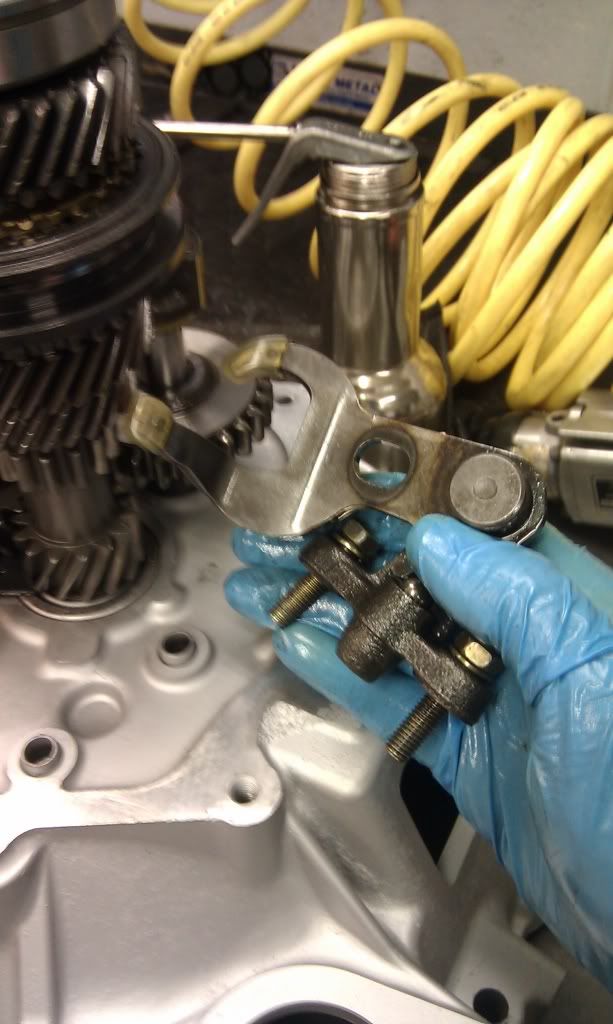
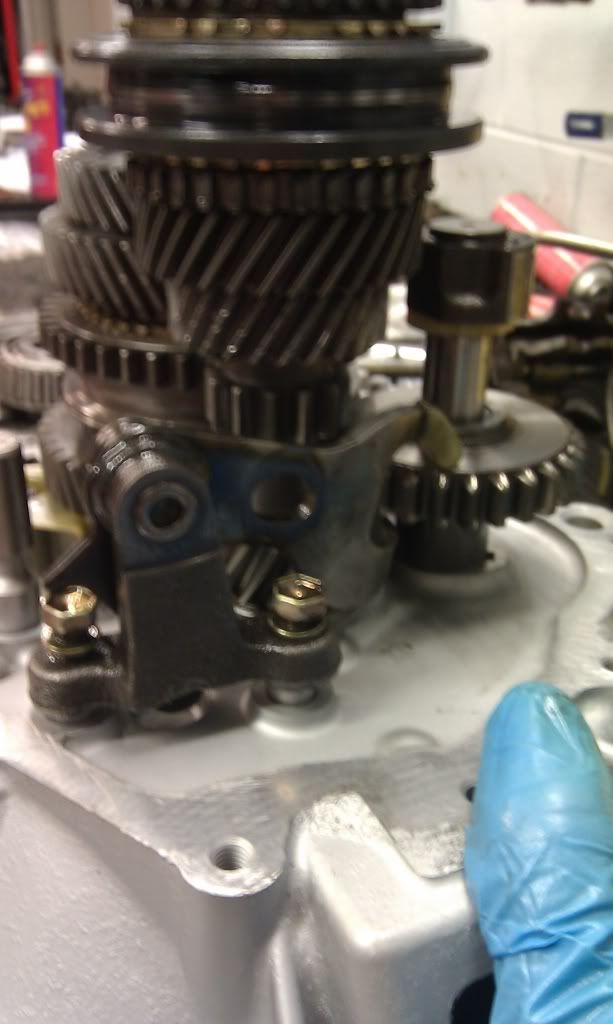
Shift forks. You have to have these connected to the input and output shafts to put everything in the trans correctly.


Like so.


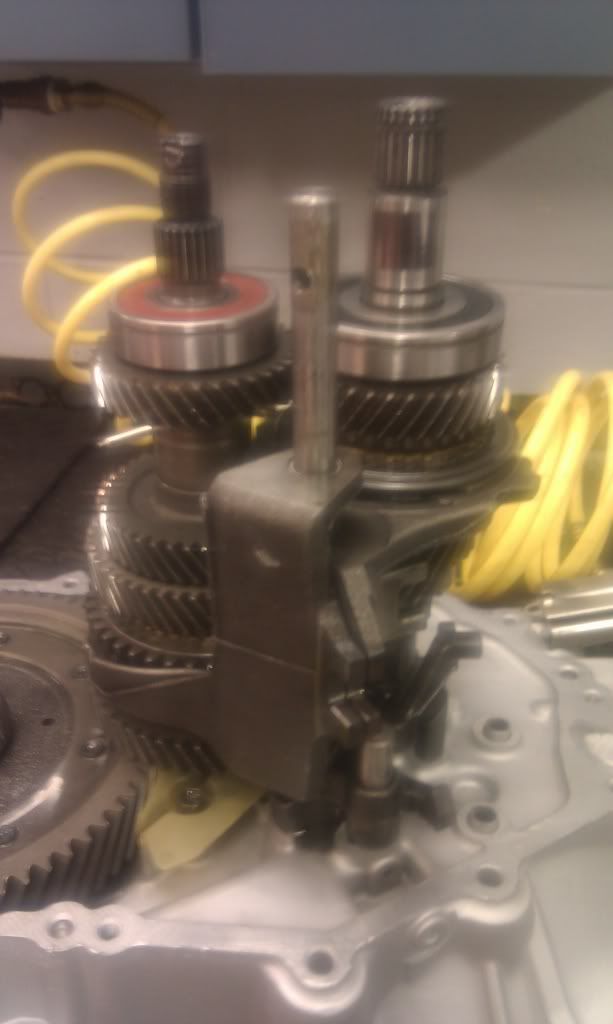
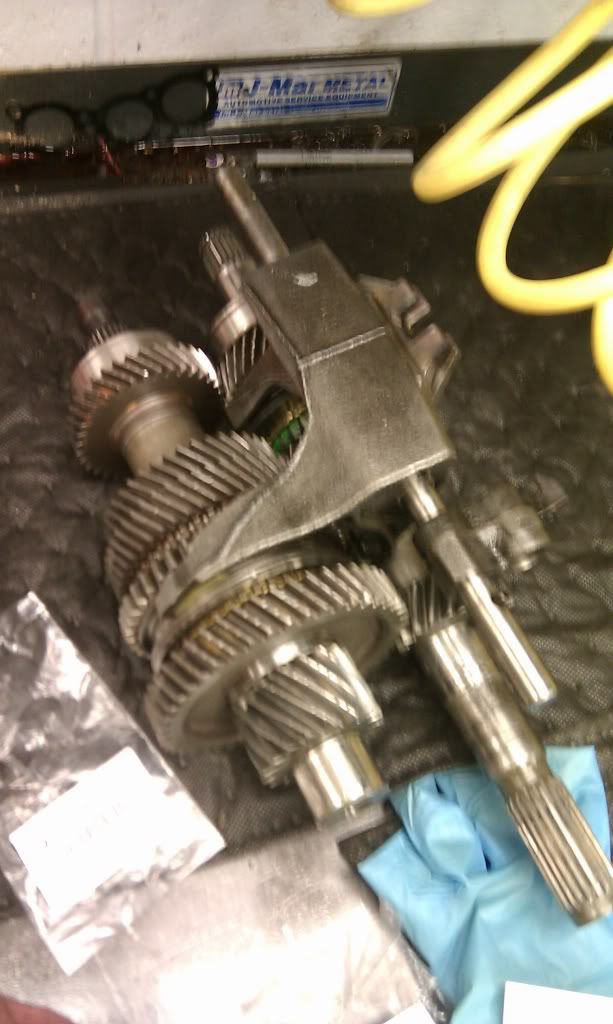
You slide everything into place.


Make sure the shift forks are all lined up and in "neutral"

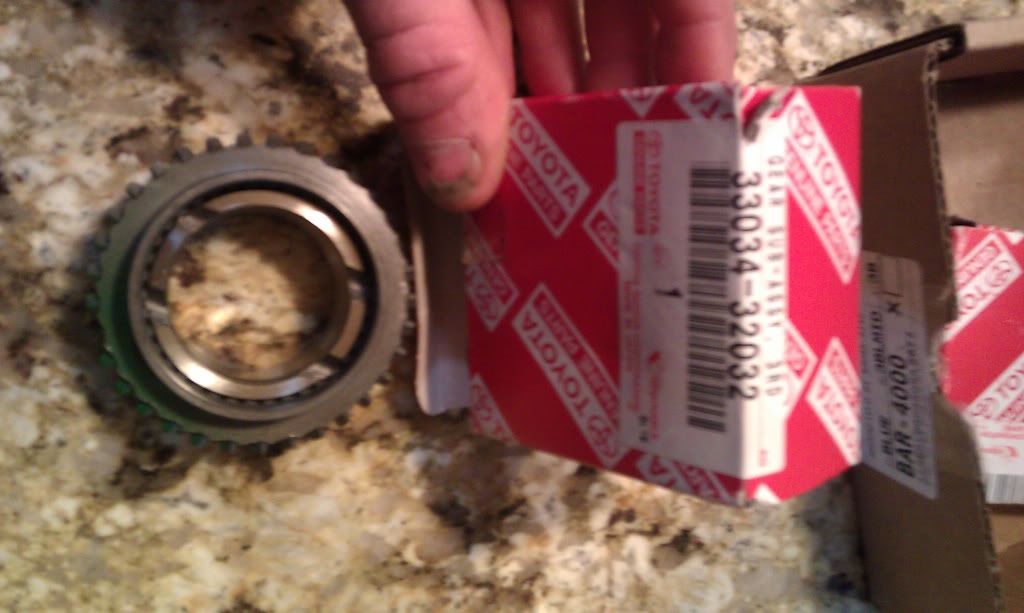
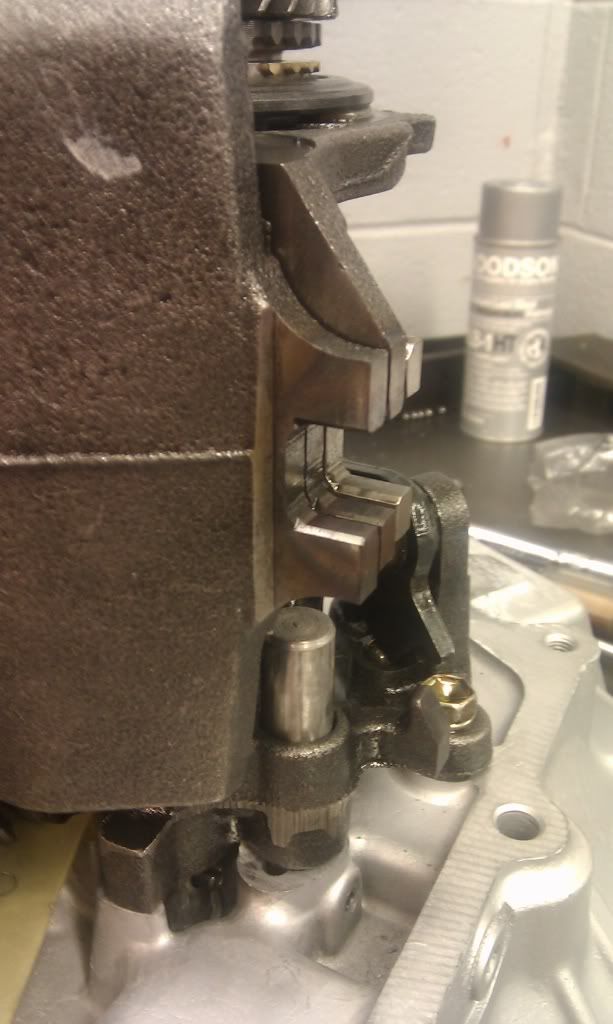
Lets put the reverse gear in.


Reverse selector.


After i got all this put together i shifted through all the gears and made sure nothing is binding up. If something is you have a problem. Don't just say it'll free up later cause it won't, you'll grenade your trans.

Clean all sealing surfaces and lay a nice 1/8"-1/4" bead of rtv (black silicon) and lower the trans case on. It'll be a tight fit so don't be afraid to use a rubber mallet to tap the case into place.


2nd Gen 3s-gte.... It lives!97celiman"92-gt-quit making up random acronyms that dont mean anything. the only real acronym is JDM"
nice work tommyboy!!!
should have grabbed a tube of toyota red FIPG from the dealer with all those other parts..its made just for the tranny cases like that and what not.

Former Team 5SFTE pro member ;)13.6@108MPH, 5SFTE Powered
nicee job bro

you didnt put the lsd in right? i may have read it wrong, idk.

and how much would a rebuild cost?

st205 powered ss3 coupe
no lsd i sent it back for a refund. I didn't even think toyota had their own brand of rtv. Next time ill get some lol.

Without 3rd gear, Spent around $350 dollars. I would give you guys part numbers but some syncros very from year to year. I noticed a 96 s54 trans does not have the triple syncro set up for 2nd gear like a 97 does.

I have more pictures of putting 5th gear on once i quit being lazy. Anyone have any opinions on what gear lube i should use? I was thinking of that redline shock proof stuff. Havn't heard anything bad about it.

2nd Gen 3s-gte.... It lives!97celiman"92-gt-quit making up random acronyms that dont mean anything. the only real acronym is JDM"
good job.

now you really need to take me for a spin in that car haha
Mind if I send my S54 up there to you to rebuild? Hahaha just kidding, Tom. Glad you got the LSD lined out, and you just put a lot more work into your transmission than I'm willing to do. Nicely done!

"Employ your time in improving yourself by other men's writings, so that you shall gain easily what others labored hard for." -Socrates. Even Socrates told us touse the search button!2006 Aston Martin V8 Vantage.1998 Celica GT-BEAMSSwapped.2022 4Runner TRD Off Road Prenium.2021 GMC Sierra AT4.
i finally took the time to show how i did 5th gear. Here you go guys.


Everythings all ready to go and put 5th gear on.. well almost


You have to put the two snap rings on the bearings. When you put the bearings on remember to have the side with the groove in it facing up so you can fit the snap rings on.

Put the plate back on and tighten up all the bolts.


Put 5th driven gear on. To do so find a socket that will be big enough to fit around the shaft. So you can hit the socket and slowly work 5th gear onto the splines. Its a press fit so remember that it'll take some force to pound it on.


Now to put 5th speed gear on with the syncro hub assembly also. I did the same thing as i did before. Just took another socket and worked the hub on. First put the needle bearings around the shaft and lube them up.


5th speed gear just slides over the needle bearings.


5th gear syncro hub.


Make sure you pay attention to these tabs on the hub. They should go into the holes on the 5th speed gear.

Perfect.


You will know when your far enough down when you can slide the snap ring onto the input shaft.

Slide the shift fork into place.

Also you will notice a lock nut on the output shaft. I didn't take a picture of what to do here but the lock nut is left hand threaded! So to loosen the nut you would actually want to act like you were tighten it to take it off. Just remember that.

Just lay a bead of silicon on the case mating surfaces and put the final case cover on and bolt it up.

Finished product.


2nd Gen 3s-gte.... It lives!97celiman"92-gt-quit making up random acronyms that dont mean anything. the only real acronym is JDM"
you need to take those rusted pieces and do some work. they dont do justice to the rest of that tranny

Learned a lot in 10 years...I hardly log in anymore, last loginToday Sept 6 2019, and I was forced just to clarify a post. LOLIf you PM me and I dont respond, dont fret or cry. Im alive, better post your questions in the thread below, maybe I log back in2grfe Swapped...Why I chose the 2GR, before you ask read here...A great civilization is not conquered from without until it has destroyed itself from within.@llamaraxing in Instagram is the best way to find me. I hardly log here anymore.