>
QUOTE (Nial @ Sep 9, 2014 - 1:17 AM)

>>
QUOTE (Langing @ Sep 8, 2014 - 6:33 PM)
>>
QUOTE (Nial @ Sep 8, 2014 - 2:16 PM)
>That would be nice having the only one, but I don't mind sharing

after all it's what forum are all about
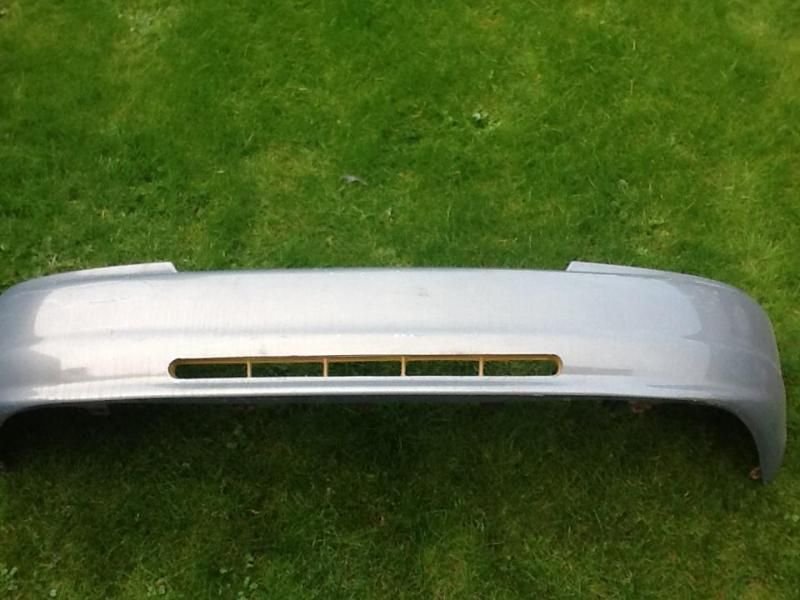
I have to figure out a way to attach the vent to the bumper first and at the moment it's only held on with sticky tape, but I bet it involves glue, possibly some zip ties too unless I can come up with a better way....it's kinda on the back burner for a while now as I have to sort out the paint on the underside so I can start putting stuff back together.
Yeah, I saw that you were preparing to finish the underside. But, then I thought about something you had done to its underside long back, and then had the sand blaster blow it all away. I guess this time you know how good it is going to turn out before you start? Or did I miss-remember what you had done previously?
I know you are anxious to get the re-assembly process underway so you can actually see it beginning to look like a fully fledged car again. I think all the wait and the work has been well worth it, cause it is looking really good at this point.
At the moment the bottom is just painted with a tough primer followed by a 2 pack epoxy, next I need the stone guard which I originally wasn't going to use, but nearly everyone has recommended that I do, that will be followed by the colour and finally the lacquer. That should (fingers crossed) be enough to protect it for the rest of its days.
On the BOTTOM of your car, where no one but your closest mechanic friends will ever get to see, you will have 5 levels of undercoating:
tough primer
epoxy
stone guard
paint
lacquer
That says to me you fully intend to put this baby on the road, where it must live in a harsh environment that warrants all that protection.
And all its metal parts are zinc plated! Personally, I would not be capable of demonstrating so much bravery; instead I would be thinking of encapsulating my work of art in an environmentally controlled glass viewing case so it could be appreciated on into eternity by visitors to the 'car' or 'art' museum, or so it could be truck carried from showplace to showplace.
On the other hand, since I see you mind is made up, it strikes me that you will have a tremendous advantage when some thoughtless XC#S0B opens his/her car door into the side of yours. YOU will be able to fix your paint job in short order all by yourself cause you will have had all the experience you could ever need for handling such situations.
All joking aside, Nial, there is only one way to do any job. . . the right way. And, your work always meets that criterion, so, you are an inspiration to all who read this thread. Can't wait to see the end product; it's getting close.