Over 1M Posts • 84K Topics • 9K Authors

Edsers 1996 GT Project - 6G Celicas Forums

Topic #84745 115 posts Started by Edser
Just a small update. I took my door cards out of the boot and bought them up to the flat to compare them and swap over any parts.


I had previously noticed that the top rubber strip on the leather door cards was damaged , so I hoped to swap it for the strip that had been originally on my car. You can see how there top strip is missing, looks like it was torn off in the left hand one.


So I prized open all the little tabs and removed each strip.


Then I swapped them, bending all the little tabs closed again. Easy.


While I was doing this I had a look at the switches and noticed that the ones in my new cards looked very worn and faded. My car has more than 230k km and the parts look new in comparison the the newly purchased cards. So I swapped them. Easy too. Ah, if only all the jobs were this easy.
Been doing some work on the car on Monday and Tuesday. I fitted my tinted repeaters. I removed the rear seats and fitted the side panels. Meanwhile, I have been working on the rear leather seats. They are nearly finished, I think I'll give then one more coat just to ensure that the colour is even.


This post has been edited by Edser: Nov 7, 2014 - 10:51 AM
This week I stuck on some TRD badges on the wheels...


and on the back... (sorry, terrible photo!)


Then I fitted the newly re-coloured rear seats...


Duff likes them. No paws on the new seats please!
great job ! thumbsup.gif

very unique in color !!

94' Celica GT Manual
Seats looks great. let us know how that dye works. very interesting indeed.

*1997 Celica ST - 3SGE Greytop BEAMS*1977 Celica RA29 - Classic Cruiser*2005 Matrix AWD - dedded but still hanging around like a ghost2019 Rav4 XLE Premium - Sports mode is fun.
Those seats look seriously good. Very nice work.

'97 ST\ Eibach \ KYB \ Kenwood \ Alpine \ Cusco \ OEM+[sold 10/18]'93 MX-5LE
Thanks guys! I'll be doing the front seats soon, but it'll be a while before I can test them in real world conditions and see how they withstand wear and tear.
Meanwhile my new badge, a window moulding clip, and a wheel bolt arrived at the dealers. The window clip cost a huge 5.67euros per clip! For a tiny plastic clip! I probably should have got them in a breakers yard. The badge was 25.74 euros, and the wheel bolt was 2.12euros. All including tax. I got a new wheel nut last week it was 6.14euros.

So I stuck it on. Looks great!


This post has been edited by Edser: Nov 11, 2014 - 9:31 AM
A box arrived in the post today.

What is it?

What's in there?


There's stuff inside!

Lots of bubble wrap!

How exciting!

I tear it all open


I practically burst with excitement, this is all too much for me.

It's some
some
some
ooooh Kouki!!! (jumping around the room, nearly falling over)

funny,

congratz, i can imagine you jumping...


Learned a lot in 10 years...I hardly log in anymore, last loginToday Sept 6 2019, and I was forced just to clarify a post. LOLIf you PM me and I dont respond, dont fret or cry. Im alive, better post your questions in the thread below, maybe I log back in2grfe Swapped...Why I chose the 2GR, before you ask read here...A great civilization is not conquered from without until it has destroyed itself from within.@llamaraxing in Instagram is the best way to find me. I hardly log here anymore.
So I fitted the lights. Here's half the job done.


Only problem is there's no rear fog light. I'll need that for the ITV, the Spanish car test. I may take them off for the test until I can get the fog problem solved. There's supposed to be a 10cm gap between brake light and fog light so I may replace one of the reverse lights with a red fog and disconnect the brake light closest, or maybe add a stand alone fog light low on the rear bumper. I'll have to ask around and find out what is best.

This is after one coat of Leatherique.


The dog always stands there and watches me when I take photos. It's like as if he has nothing better to do.

After 3/4 coats the colour looks a lot more uniform.


This is where there was a hole in the side bolster and the leather was very badly worn.


This post has been edited by Edser: Nov 21, 2014 - 11:22 AM
My USDM double DIN console arrived today straight in from the US via the UK. Guess it took the touristic route.
Looks great. Just need some electronics to fill that gap.
seats look fantastic!
Great work, those seats look oem!
Thanks guys! smile.gif

More stuff arrived today.


I got this double DIN from China. I hope it doesn't break immediately. It has a reversing camera included. nice.

I also got these SSIII splitters and power mirrors from Hong Kong from New Stars.


The other day I got to work on repairing the tab on one of the rear splitters. I haven't read up on how people repair these things, but I think that a flexible ABS repair product like Ceys would do it. I drilled some deep holes in the end of the damaged area and screwed in some screws. The idea is that the screws will hold the end of the tab on.


The stuff is easy to use, its two components mixed together in your hands and then can be applied to the damaged area, covering the screws.

Later when it hardens it can be sanded into shape.


I attacked it with my Dremel and a sanding bit, and finished the sanding by hand. The result is quite flexible, though I'm not sure how strong it is as I didn't want to pull at it. I'll paint it and it should look ok.
Some pressies arrived today... Guess which one is for the car? laugh.gif

Meanwhile I painted the SSIII splitters in work. Here's a pic of them painted black but without the clear topcoat.

I also took some car pics


Here's a pic of the fronts all nicely painted. They really attract fingerprints kindasad.gif

I put on my rear JDM splitters, I hope to put the fronts on this weekend.
Car looks great! Good progress so far!

It takes 8,460 bolts to assemble an automobile, and one nut to scatter it all over the road.Celica: The name is derived from the Spanish word for "heavenly" or "celestial".Back-2-Back July COTM 15&16
>
QUOTE (4-eyed-freek @ Dec 19, 2014 - 9:44 AM) *
>Car looks great! Good progress so far!


Thanks, it's been fun!


This week I have mostly been working on my Batman logo and my front SSIII splitters.

First up, the Batman logo:


I drew this on the computer and cut it out of a piece of Solarcheck window film. I used the CO2 laser cutter in work.


These are the application tools I used. I didn't have a plastic spatula easy to hand so I used this soft flexible ruler. I cleaned the glass.


I first positioned the Solarcheck using some tape, and then removed the plastic backing and liberally wet the Solarcheck and glass with some soapy water. (It looks like the logo is upside down because the boot was open).

Then I rubbed the Solarcheck with the ruler and removed all the water. The glass was a bit curved, so I had to cut the logo to make it fit as I had no way of plugging in a hairdryer in the street. There was a bit of wind that day which didn't help either.


The logo is nice and transparent, but reflects the sun nicely. It can only be seen from certain angles.


So then I put on the front SSIII splitters. They fit in nicely, I think they look great. This is a pic showing the GT splitters on the ground.


There was much better light in this supermarket.


This post has been edited by Edser: Feb 11, 2015 - 4:09 PM
This is my new car, well it's my girlfriends, but I'll get to drive it around at weekends. I can't wait!
Greetings! Some holiday pics!


>
QUOTE (enderswift @ Dec 31, 2014 - 9:31 AM) *
>Interior shot please

I'm afraid there's not much to see yet as the drivers seat I bought is broken and so I'm looking to get a '94 or '95 GT seat to replace it. The 1996 seats are different and so the leather can't be swapped over to my original seat. Also the seat belt fixings are different. I fitted the passenger seat and swapped over the seat belt parts, which don't fit very well, as they don't rotate slightly as they should.
I can't understand why Toyota would so completely change the seats while leaving them looking exactly the same. Every bolt and part on the '94 is different to the '96. At least the floor mounting positions are identical.
Also, I put a rear seat doggy cover on for the dog, so the rear seats can't be seen.
The new subwoofer has arrived. Doesn't pack much of a punch but will give the system a more quality sound as the stock speakers make very little bass, mostly buzz. I'll uprate the speakers later.


This post has been edited by Edser: Jan 7, 2015 - 4:10 PM
Today I fitted the new subwoofer.
It's the Pioneer TS WX610A.
It's designed to fit into the spare wheel so as not to take up boot space.
It took me about 3 hours to install, however I didn't install the volume/gain control thingymebob as I haven't decided exactly where to put it. I just fed the wire under the backseat temporarily.

First I trial fitted the sub into the cavity in the spare wheel. The main problem here is that the wheel is facing upwards and when you face it downwards the wheel doesn't fully sit down on the floor, but sits a centimeter or 2 above due to the hump in the middle of the floor fixture. So I'll need to make some spacers. Temporarily I put the cars emergency triangles under the wheel to support it. I guess I'll make some blocks out of thick packing foam, but for the moment it'll do.The wheel does sit slightly higher now, but it is not noticable, especially since the carpet never fitted well before, so now it looks the same as always. I used the various adapters that came with the kit as the original attachment bar was a little short once the wheel was flipped.


The wooden cover locks tightly over the wheel as before. I think I'll replace this with something better at a later stage.


Then I passed the yellow power cable through a hole in the bulkhead and 
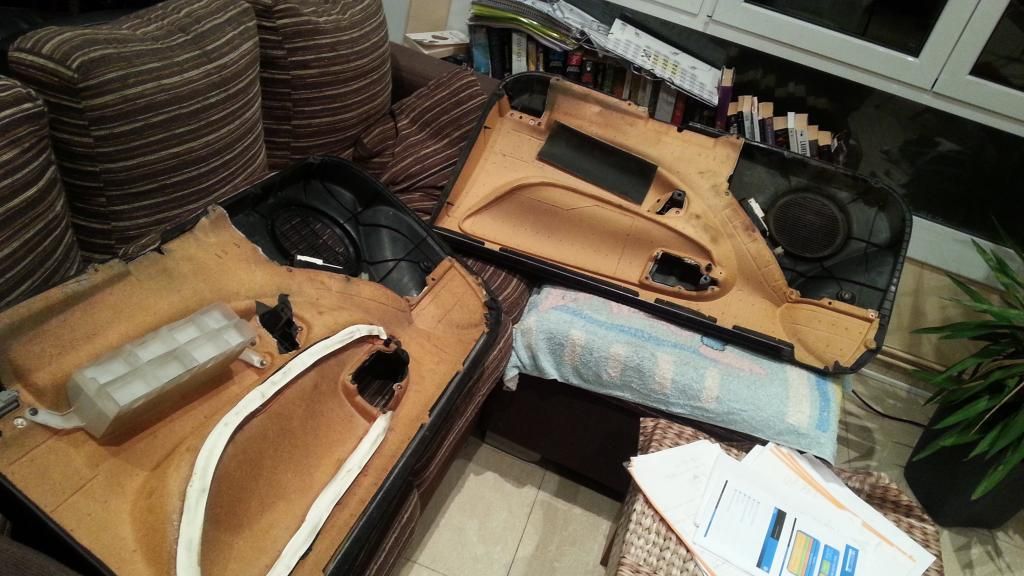
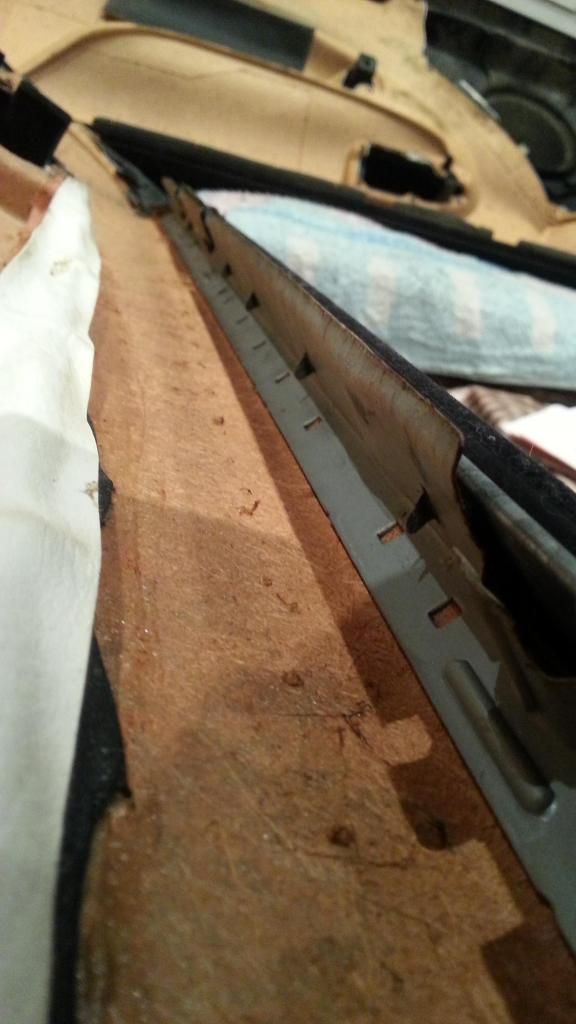
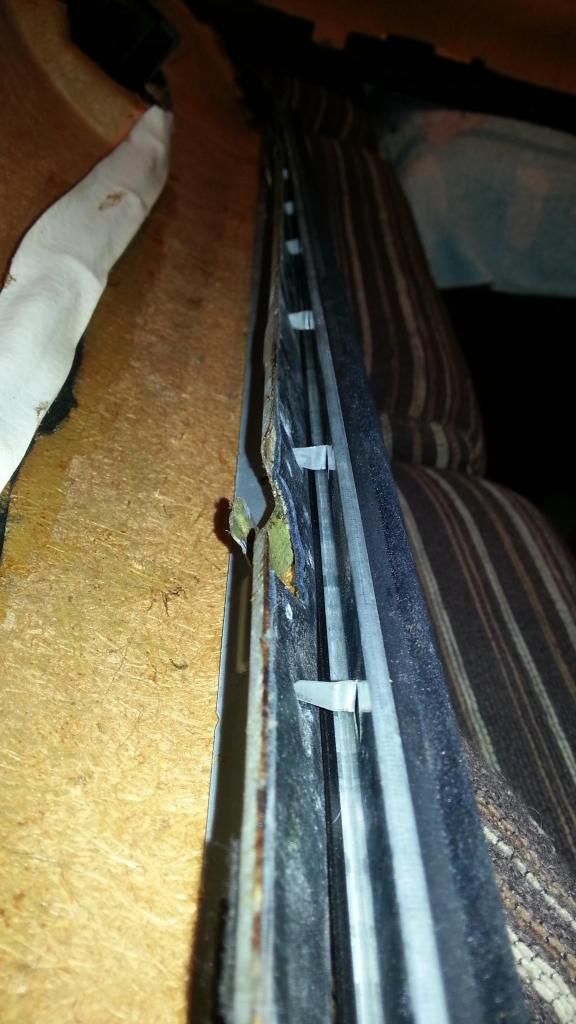
under the skuff plates on the drivers side. Here I discovered a handy channel alongside all of the other cables. I then passed it under the edge of the rear door cards by the door pillar, and then under the rear seat and into the boot. In this way I didn't have to remove the interior panels. A big time saver.
I tied the yellow cable with cable ties in the engine bay, trying to keep it hidden as much as possible. This cable comes with a fuse already so its a very simple install. Just connect everything else and then this to the positive terminal at the end.


Then I ran the RCA and blue ON/OFF wire along the passenger side, hiding it under the skuff plate in the existing channel. As on the other side, I removed the same corner panels under the dash and ran the wires under the glovebox.


Then I whipped out the main console, and passed the RCAs through the dash and plugged them into the back of the cd player in the slots marked sub out. The blue control cable wasn't clear initially, but then I spotted it with a connector just like the one from the subwoofer. Easy!

So I popped the console back in and focused on the earth cable in the boot. I found two holes in the floor of the boot that had once held something... I dunno. So I cleaned up one and screwed the earth cable to it. All left to do was run the Volume /gain cable back under the rear seat. The Volume/gain controller is a nice piece of kit, with a little blue LED to tell you its on, and two nobs to adjust the bass to your preference.


Then I finally connected the power cable to the positive terminal of the battery, and hey presto! A thumping loud stereo and totally hidden!
Looks like a normal boot, no big boxes, nothing, and the bass is really surprisingly loud! I think it's made me a bit more deaf. Still worth it though.


Car is a really filthy inside. I have never cleaned it since I bought it 3 years ago. I may clean it one of these days. Maybe in the summer. rolleyes.gif

Here's a video showing the system in action. The video quality sucks a bit as my memory card is very bad and causes errors, but the sound is pretty awesome I think. I'll be changing the head unit for a double DIN later and uprating the speakers and adding some tweeters too.
https://www.youtube.com/watch?v=8uiKbIVjnEo
I fixed the video. For some reason it was set to private. no clue why.

This post has been edited by Edser: Jan 10, 2015 - 9:39 PM
Some more parts arrived this week. I'll put on the tweeters but I'm not sure as to whether I can connect them up to the cars system or not. If not then no problem as I'll get some new front speakers, tweeters and crossovers later.
Some rolls of sound dampening material too.

Also my LED dash lights arrived. Them only light the dash though, I wanna change the light of the console too.
I fitted the Dash LEDs. They are a little pink I think.They look pink in the photos but are redder in real life. I dunno. I like the effect though, and its a bit brighter than stock.


Today I started fitting strip LEDs under the doors. Its a bit bright. Maybe too bright.


This is what it looks like from the inside when a door is open somewhere. You can't actually see the strip, what you see in the photo is a reflection on the scuff panel.


I'll be fitting some more red light in the footwells, and also I have been playing with the double Din radio and seeing how it fits. It's a very tight fit and theres no mounting brackets, so I'll have to fabricate something. I plugged in the 2DIN and played with the radio and the settings, connected the Bluetooth and was pleased to see that music on my phone comes out through the 2 DIN via Bluetooth. More on that later.
I got my new re-upholstered leather steering wheel back from Tapicerias Meridiana today. I'm quite pleased with it. The finish looks pretty good, and the red stitching will look nice against the dark red interior. The only thing that annoys me is that now the airbag looks very shiny in comparison. Maybe the airbag can be treated in some way the make it more dull.
Anyone tried anything to make it less shiny?

I'll try and fit it one of these evenings.
I'll also make a vinyl badge for the center, or maybe buy one of those aftermarket TRD horns. I understand the badge on them fits mine.