Over 1M Posts • 84K Topics • 9K Authors

Bodywork Thread - 6G Celicas Forums

Topic #76098 41 posts Started by e30og
Small Dings...tell me about them! lol

Here is an example of the small dents I had on my Celica prior to spraying primer...the passenger side was even worse. smile.gif

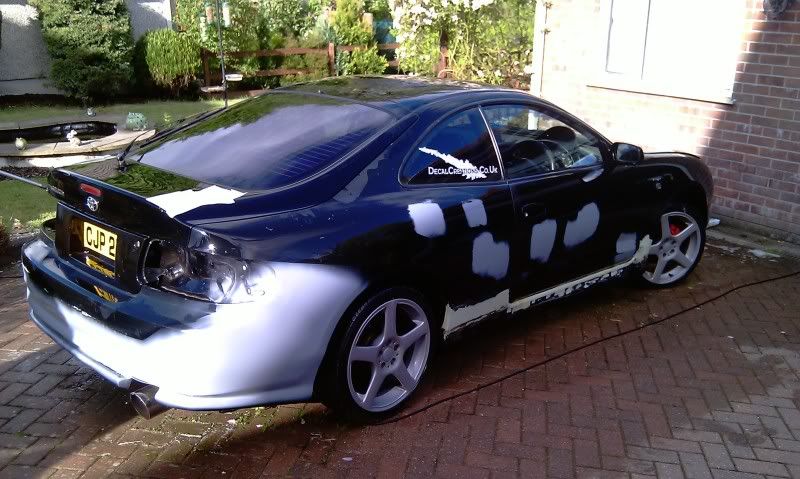
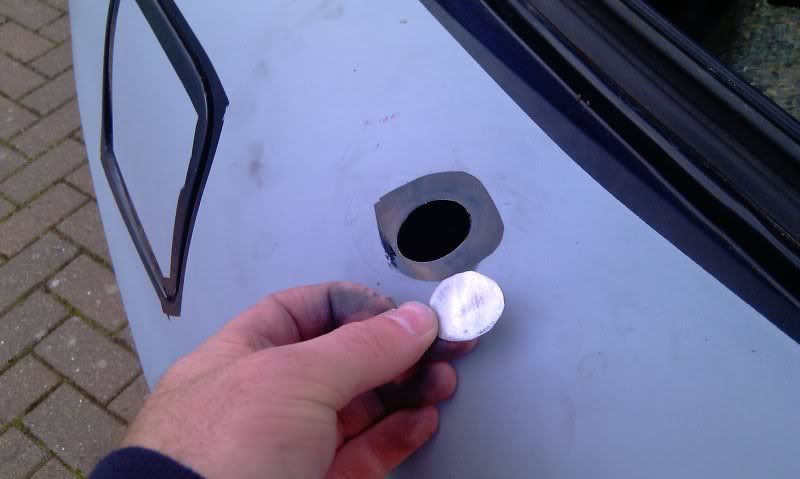
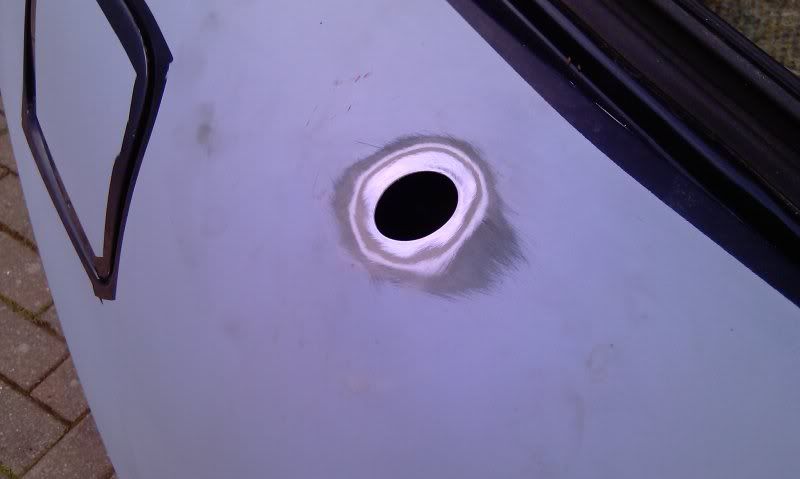
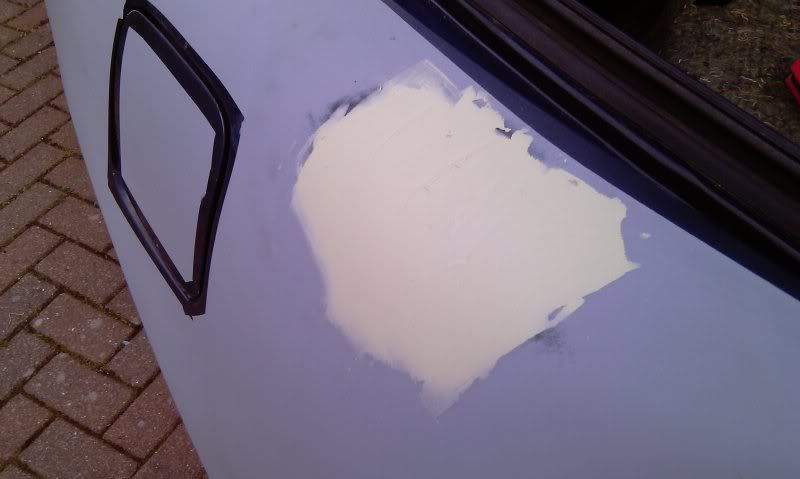
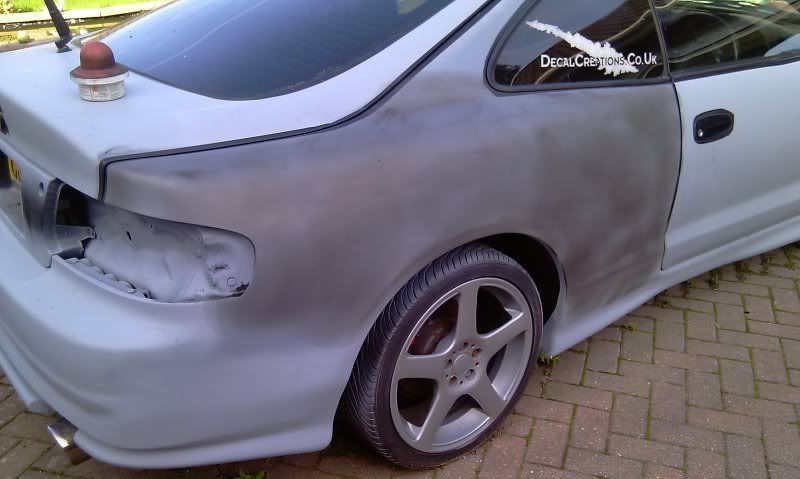
Here is the basic process of removing small dents and dings in your bodywork. Please excuse the photos...I have taken them from a couple of jobs I have done on my car. The first few are from my "deleting radio aerial hole" and progresses to some side shots of the car being sanded...but it shows you the process.

Basically it runs like this:

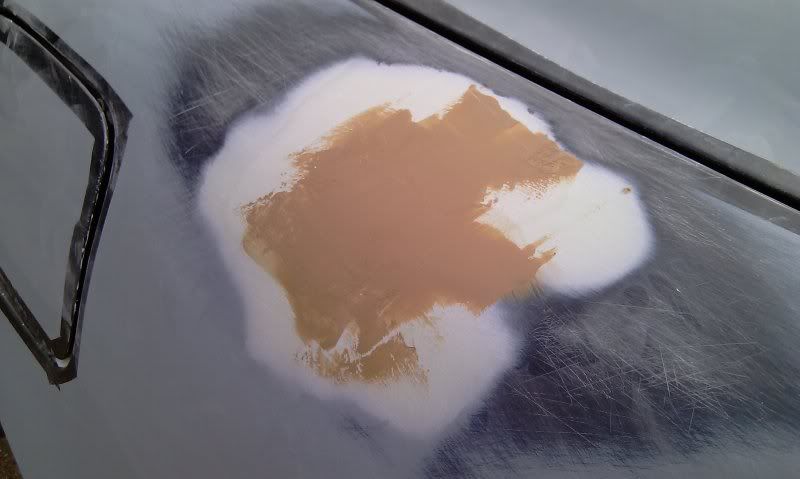
1. Use a de-greaser and remove surface contaminants....sand area down with 80 grit sandpaper. This creates the perfect key for bodyfiller.


2. Again use a de-greaser to remove sanding dust. Apply bodyfiller over area and beyond the repair area to help feather it into body.


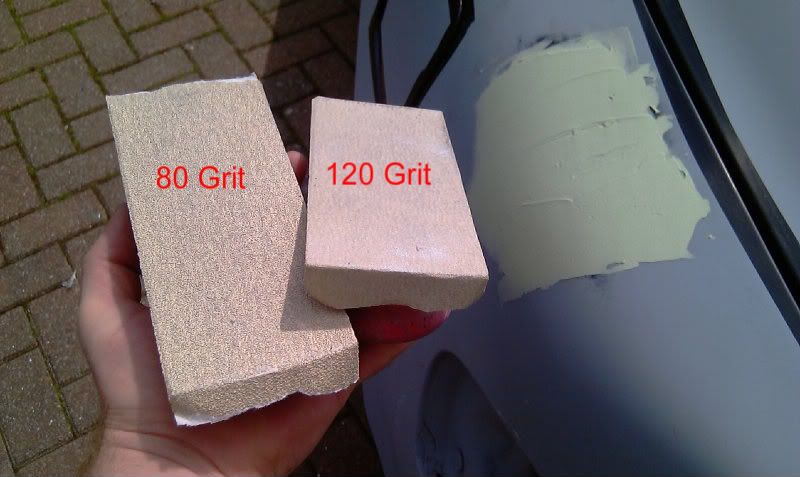
3. Start sanding with 80 Grit sandpaper to get bodyfiller roughly flat then progress into 120 sandpaper to feather out edges of bodyfiller.


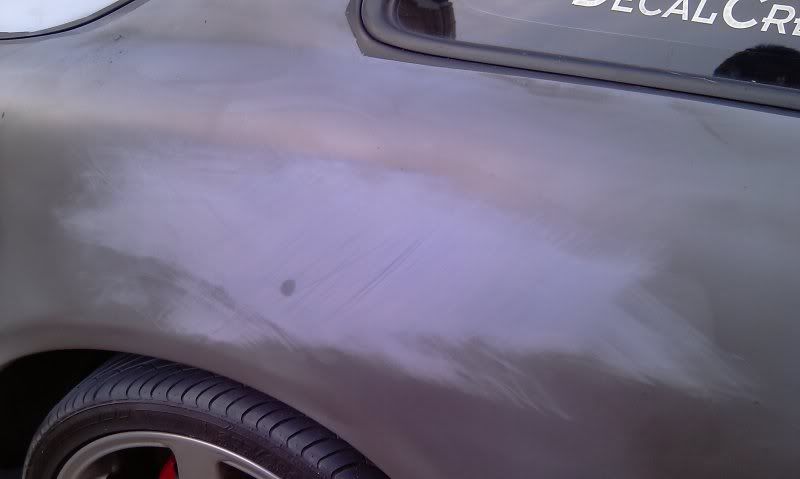
4. Here you can see the edges are feathered out nicely...the edges start to turn milky (you can see the underneath colour coming through). You can also see the slightly darker colour of the bodyfiller in the middle...this is a low spot in the repair area.


5. The low spot areas need another coat of bodyfiller.


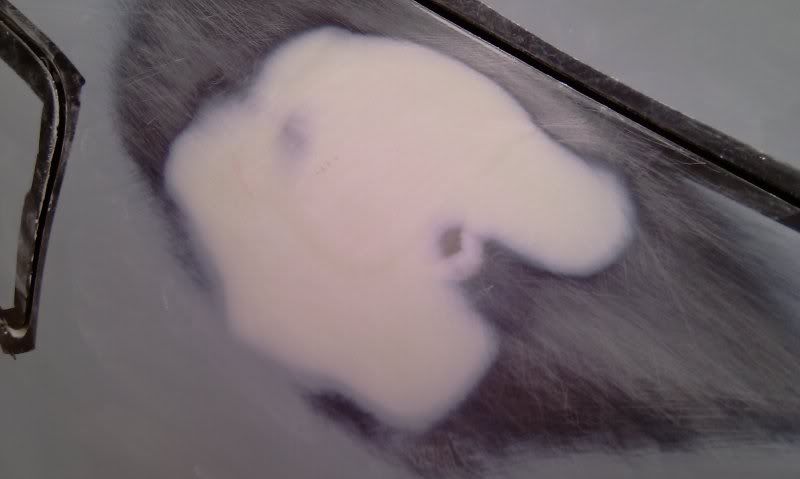
6. Repeat sanding with 80 grit then 120 grit as previous.


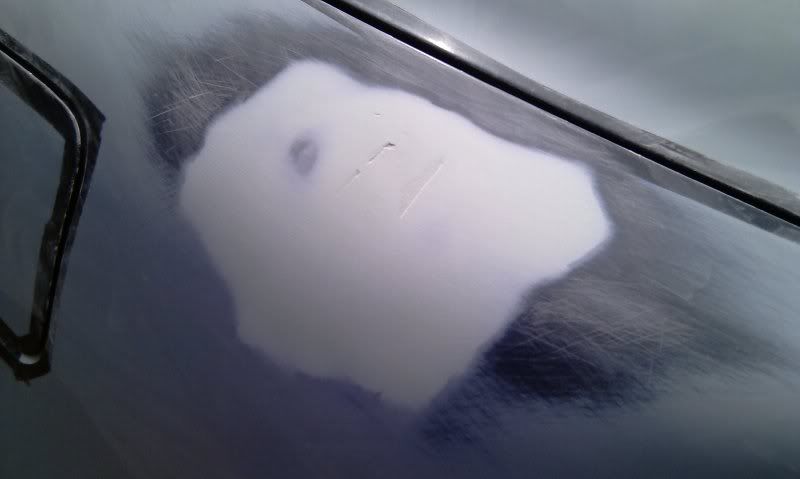
7. Next is to use a spot putty or pin hole bodyfiller...this is to fill in tiny little holes in the bodyfiller. These are caused by tiny pockets of air in the bodyfiller, which when sanded through leaves tiny holes. Normal bodyfiller would be too thick to fill without creating alot more sanding work.


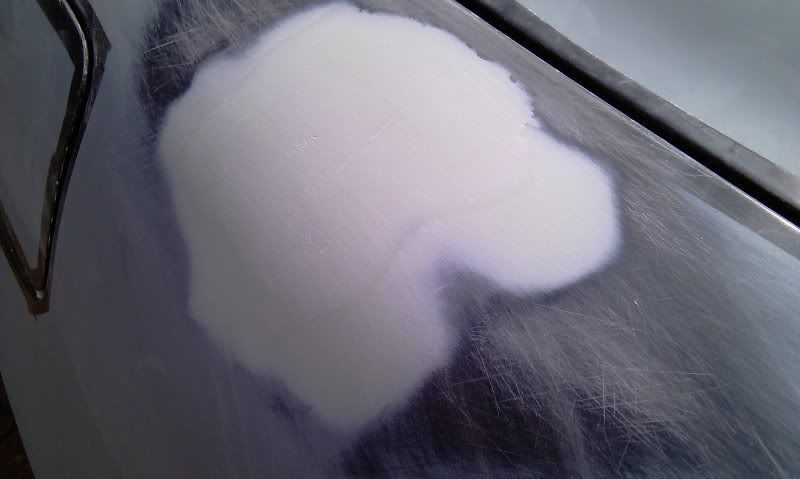
8. Progress with some more sanding...this time use 240 to 320 grit sandpaper which is perfect to get bodywork ready for spraying primer. Make sure the edges again turn milky to help blend repair area into existing body.


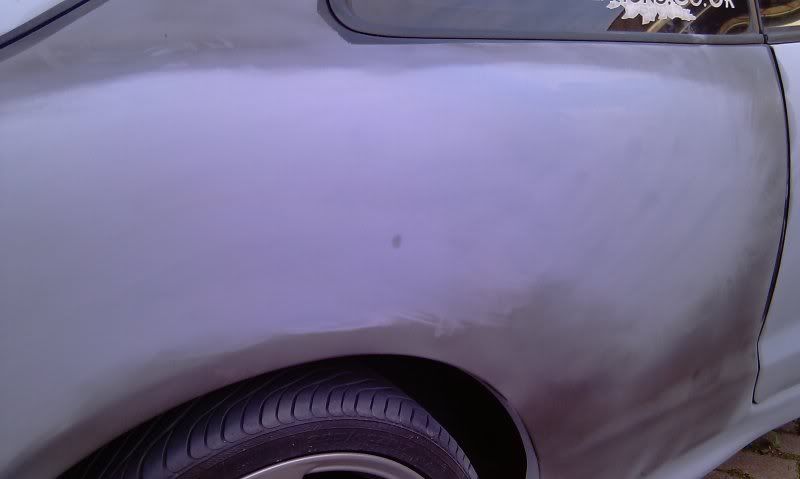
9. Here you can see the sanding to the surrounding area as well...this is done using 320 grit sandpaper.


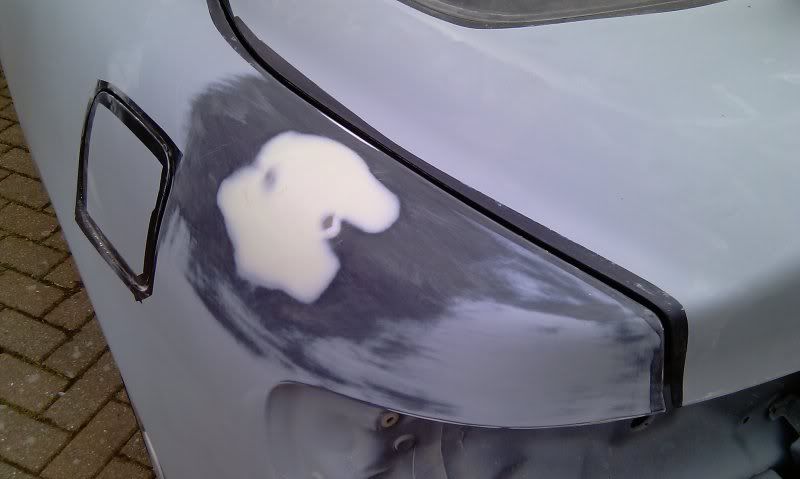
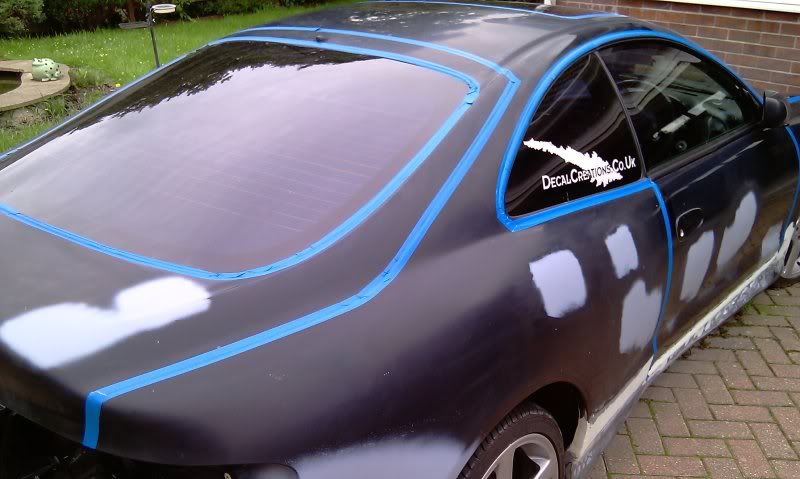
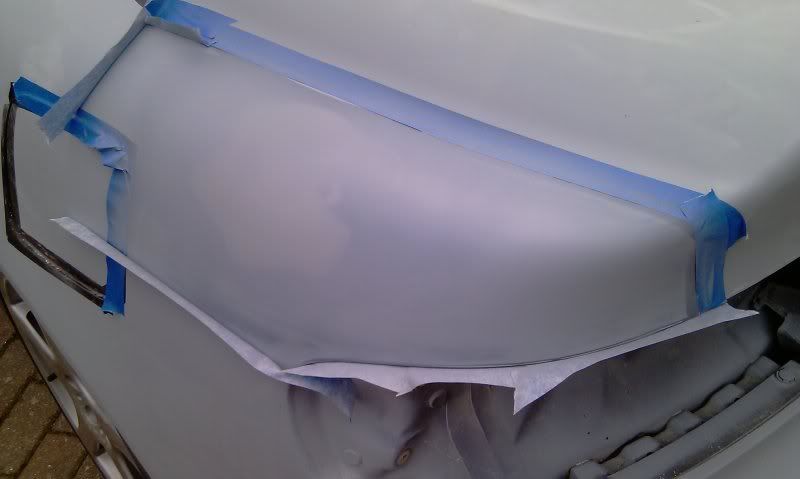
10. Tape off the area to be sprayed in primer.


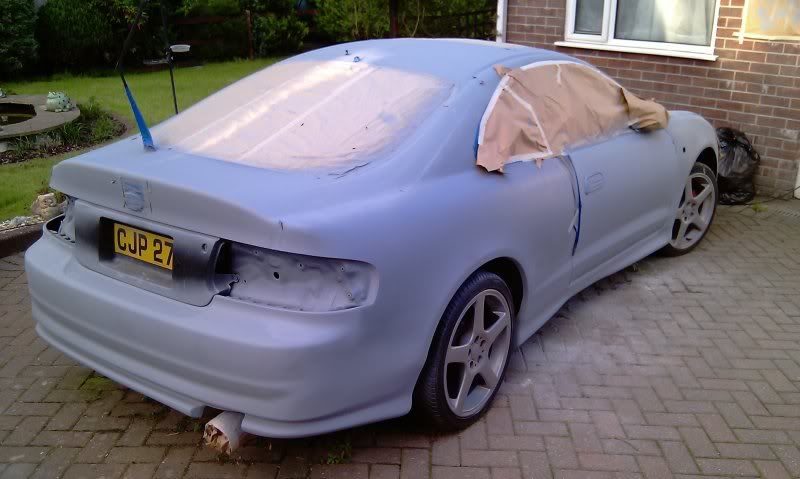
11. Take your time and spray 3 coats of primer...with about 10 mins in between to allow the solvents to flash off (evaporate off). Here you can see the bodywork is still seen under the first coat of primer.


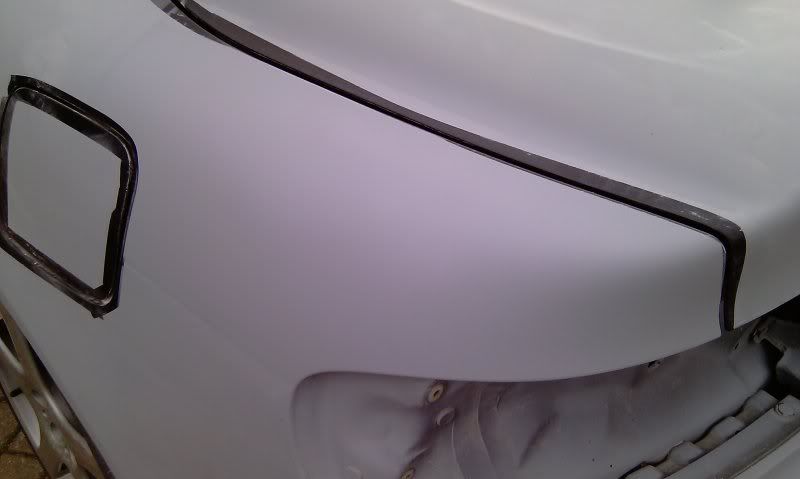
12. Here is the final area in full primer ready for next step.


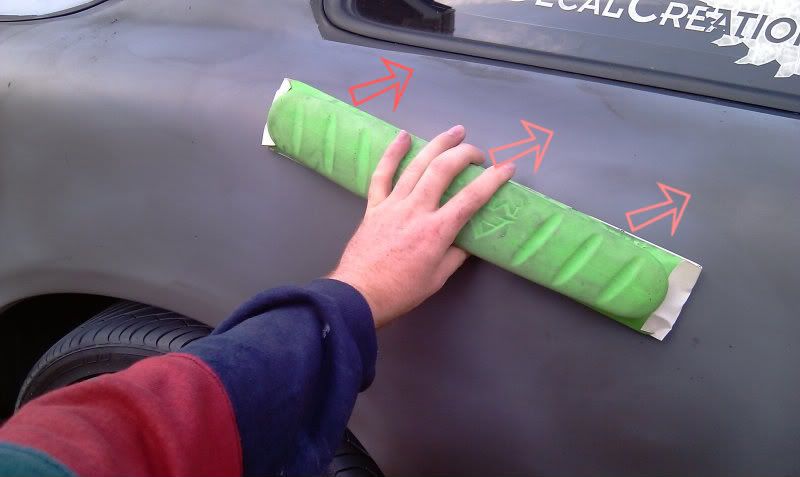
13. Right so the bodywork looks good and perfectly flat...but your eyes can lie. The next step is to use a "guide coat"...I use 3m guide coat but a light coat of black paint can be also used. Here is the guide coat applied to the area.


14. You need to use a sanding block to sand perfectly flat...sanding in an X pattern will help highlight any low spot.


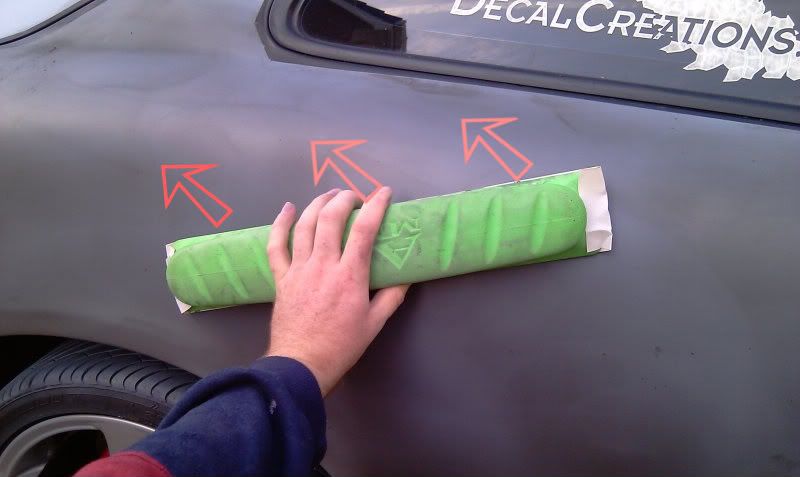
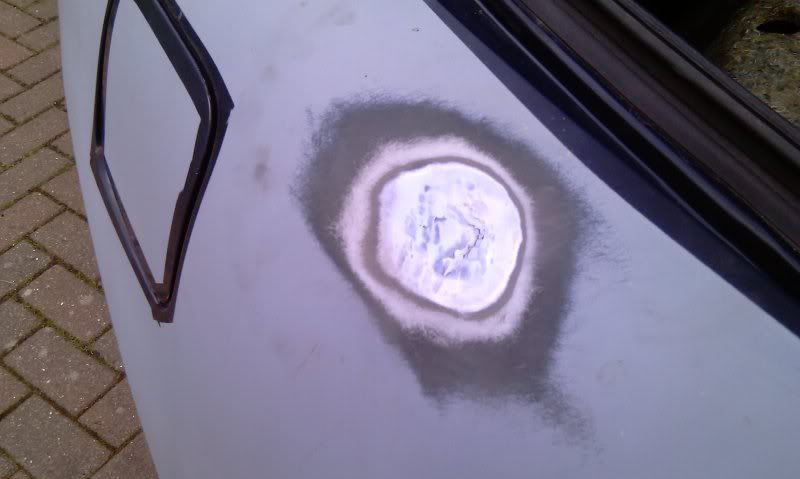
15. The guide coat is sanded off and you can just make out a low spot in the bodywork where the guide coat remains.


16. Another shot of the missed low spot in the bodywork. To repair this...you can apply a thin layer of spot putty, re-sand and re-prime it.

AWESOME^ write up and pics, I learned a few new tricks and I've done body work a few times. Thanks for the addition to the thread!
You are very welcome...I can put a number of DIY articles ranging from Scratch/Gouge repair, Paint blending, Bonnet Rock Chip fix to info on what grades of sandpaper to use on filler, primer, paint and clear etc etc.

The only problem is by adding onto this thread it is all going to get lost in one big thread.

I think it has been mentioned previously by someone else, possible the best solution is adding a new section alongside Exterior Section so DIY articles can easily be added and searched easily.
just go ahead and add it, we will just get it all together and then eventually we can close the thread, make a new one and hope for a sticky

1996 Toyota Celica Project Mean Green3RD Gen 3SGTE WRC Edition W/LSD E153 - Love BOOST <32001 Solar yellow Lexus IS3002001 Dodge ram 1500 Off-road edition
would you be able to make a writeup on molding the Skirts on by chance?

Also, that is a great writeup on the dings and the antenna hole removal!
>
QUOTE (mkernz22 @ Oct 21, 2010 - 2:46 PM) *
>would you be able to make a writeup on molding the Skirts on by chance?

Also, that is a great writeup on the dings and the antenna hole removal!


Thanks and you are welcome...I will have a look into my photos and see what I can find for the sideskirt blending.

Just a note on the antenna hole removal...I welded a round piece of sheet metal to fit the hole perfectly. The first pic in the above write up shows my welding ground down to sit flush with the existing body.
Additional photos for antenna hole smoothing....

1. Remove Antenna from boot interior side...cut out piece of sheet metal to fit JUST inside the antenna hole.


2. Prepare the antenna hole for welding by sanding edges with 80 Grit sandpaper.


3. Using a Welding Magnet (or normal magent)...hold sheet metal into place ready to weld.


Then proceed to the bodywork procedure as above.
Sorry but I couldn't find any photos of the process I used to blend the side skirts in...the following link is similar:

http://www.mx6.com/forums/2g-faq-appearanc...mpiliation.html

Here is the outline of what I did:
1. Totally degrease the area where the side skirts hit the body.
2. Mount the side skirts underneath the car.
3. Where the side skirts hit the body...you need to sand the body with 80 Grit sandpaper...only to scuff the area...not to bare metal.
4. Degrease and sand the edges of the sideskirt that hit the body.
5. Apply some automotive adhesive to both the side skirts edges and the body...in the UK I use Tiger Body Sealant...it stays slightly flexible to prevent cracking in furture.
6. Press side skirt onto body...try to maintain pressure on the sideskirt and leave to set up for 24 hours.
7. Prepare the blending area on car body with 80 Grit sandpaper...again not to bare metal.
8. Using Fibreglass Bodyfiller, apply a layer starting from the top edge of sideskirt directly upwards until it hits the horizontal bodyline on the Celica. Hopefully you can see the bodylines I have blended the sideskirts onto.


9. Once dry...sand using 80 Grit sandpaper....then apply normal bodyfiller over the whole blend area.
10. Once dry...sand using 80 Grit then 120 Grit sandpaper...you can follow the same process as above for spraying primer and sanding smooth.


11. Here are a couple of photos after spraying of primer.


Again Awesome write ups and pictures, very helpful. Do you have a basic list of tools/items that should be on hand when doing this type of work?
Late addition to the thread but here is some help for ya
Basic tools
Black Quality gloves, you dont want any oils on your hands to contact the surface your working on
Varrying grades of wet/dry sand paper
bowl for water, which should be changed often during wet sanding
spray bottle for water
sanding pads, specially made ones for autobody use are available
Respirator, seriously keep it on at all times
Good quality Automotive Primer, Personally i love duplicolor, get black for final, and red for first few layers, makes it easier to find imperfections
Masking paper
Green autobody tape, will give you sharper lines
Body filler if needed, varies in quality, done be cheap here
Glazing putty to fill in small pinholes left by air in the bondo
lots and lots of lint free rags
im sure there is more but im out for now

1996 Toyota Celica Project Mean Green3RD Gen 3SGTE WRC Edition W/LSD E153 - Love BOOST <32001 Solar yellow Lexus IS3002001 Dodge ram 1500 Off-road edition