
Overview
Converting an automatic transmission Celica to manual is one of the most rewarding modifications you can perform. This comprehensive guide walks through the entire process, from planning to completion.
🕒 Time Required: 12-20 hours
💰 Cost Range: $800-1500
Required Parts
Transmission Components
- Manual transmission (C56, C59, or E153)
- Flywheel (manual specific)
- Clutch kit (disc, pressure plate, bearing)
- Pilot bearing
Pedal Assembly
- Manual brake/clutch pedal assembly
- Clutch master cylinder
- Clutch slave cylinder
- Hydraulic lines
Electrical/ECU
- Manual ECU or reflash
- Wiring harness modifications
- Manual transmission sensors
- Clutch start switch
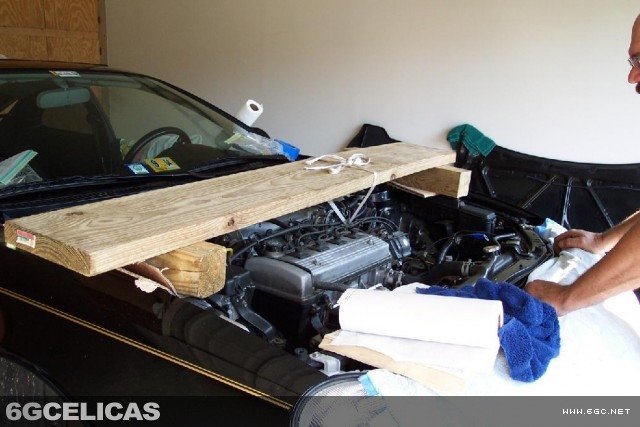
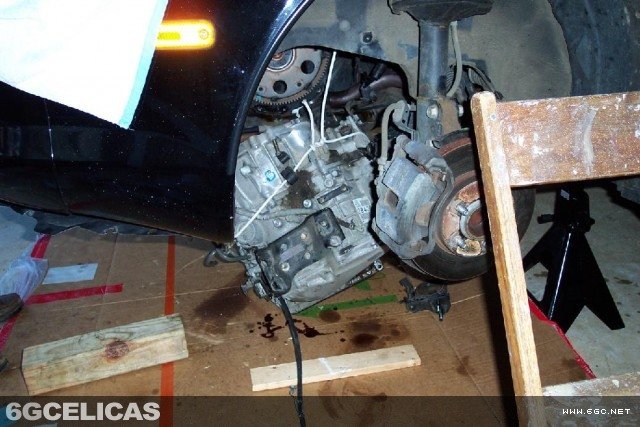
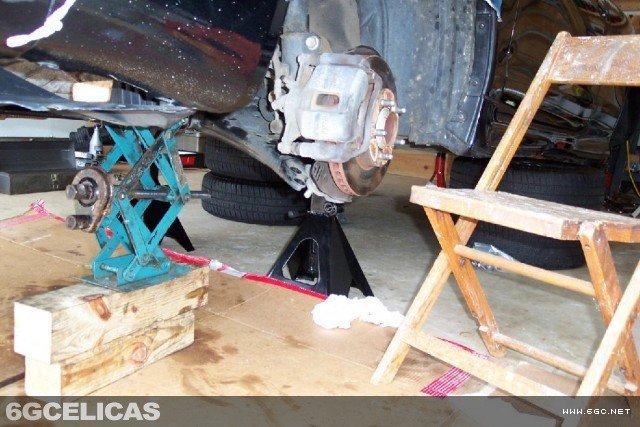
Step 1: Transmission Removal
Begin by safely lifting the vehicle and removing the automatic transmission. Disconnect all electrical connections, fluid lines, and mounting bolts. Take photos of everything before removal.

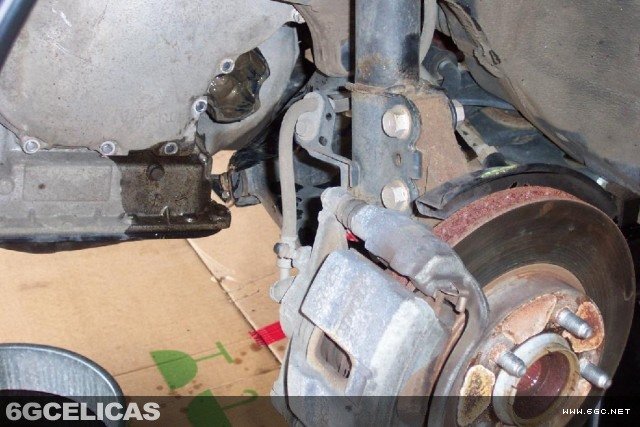
Step 2: Transmission Mount Points
Examine the transmission mounting points. Manual transmissions use different mounting positions than automatics. You may need to modify or replace mount brackets.
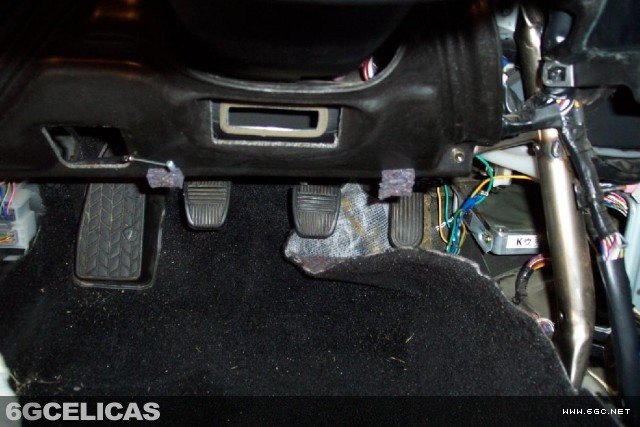
Step 3: Clutch Pedal Installation
Install the manual transmission pedal assembly. This requires removing the automatic brake pedal and installing the brake/clutch combo unit from a manual car.
Step 4: Shift Linkage
Install the shift linkage components. The shift cables must be routed properly and adjusted for smooth shifting operation.
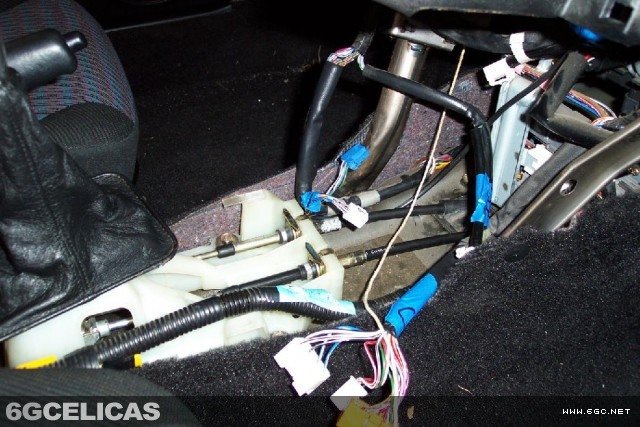
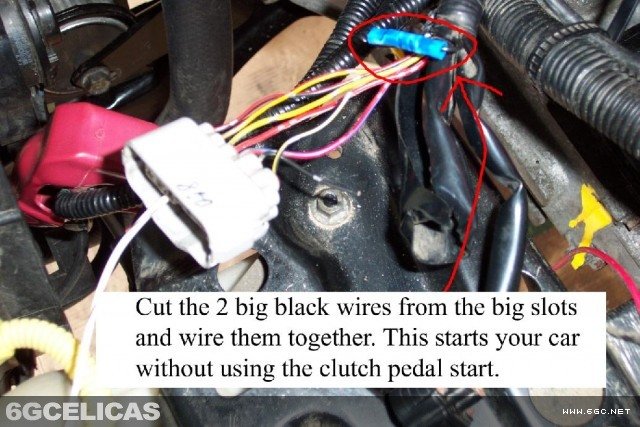
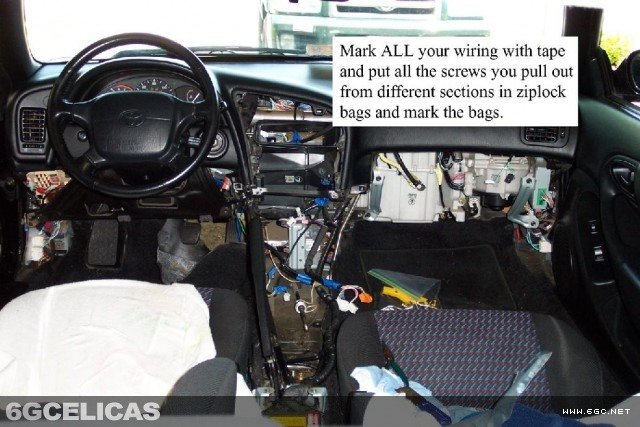
Step 5: Wiring Modifications
Modify the wiring harness to accommodate manual transmission sensors. Remove automatic-specific wiring and add manual transmission circuits.
Step 6: ECU Repinning
Reprogram or replace the ECU for manual transmission operation. This step is critical for proper engine management and clutch operation.
Step 7: Final Installation
Install the manual transmission, connect all components, and fill with proper gear oil. Double-check all connections before starting.
Step 8: Interior Completion
Complete the interior installation with proper shift boot, knob, and trim pieces. Test all functions before final assembly.
Results: Performance Gains
The completed swap typically results in improved acceleration, better fuel economy, and enhanced driving experience. Enjoy your manual transmission!
💡 Pro Tips
- Take detailed photos during disassembly for reference
- Source parts from a known good manual transmission car
- Consider professional ECU tuning for optimal performance
- Test drive thoroughly before considering the swap complete
- Join forum discussions for troubleshooting support