
Overview
Transform your amber factory sidemarkers into custom clear sidemarkers using this precision cutting and lens replacement technique. This modification creates a clean, modern appearance while maintaining full functionality. Choose between completely clear "euro-style" markers or lightly frosted versions for subtle diffusion. The process involves removing the amber lens and fabricating custom clear plexiglass replacements.
🕒 Time Required: 45 minutes per pair
💰 Cost: $20-30 (materials)
🔧 Tools: Dremel tool, plexiglass, adhesive
Required Tools & Materials
🔧 Tools
- Dremel rotary tool with cutting and sanding attachments
- Flathead screwdriver
- Hot glue gun or precision drill
- Sandpaper (fine grit)
- Safety glasses
📦 Materials
- Pre-cut plexiglass (clear acrylic)
- Hot glue sticks or clear epoxy/silicone
- 194-type bulbs (optional color choice)
- Clean rags and acetone
🚨 Important Safety Notes
- Always wear safety glasses when using rotary cutting tools
- Work in well-ventilated area when using adhesives
- Be extremely careful not to cut into the plastic housing
- Drill plexiglass slowly to prevent cracking
- Hot glue gun reaches high temperatures - handle with care
Installation Steps
Step 1: Remove Sidemarker Assemblies
Remove your sidemarker lights from the vehicle - each assembly is held in place by a single screw. Carefully disconnect any electrical connections and set the assemblies on a clean, flat workspace. This gives you easy access to work on the lens removal process.
Step 2: Cut Amber Lens
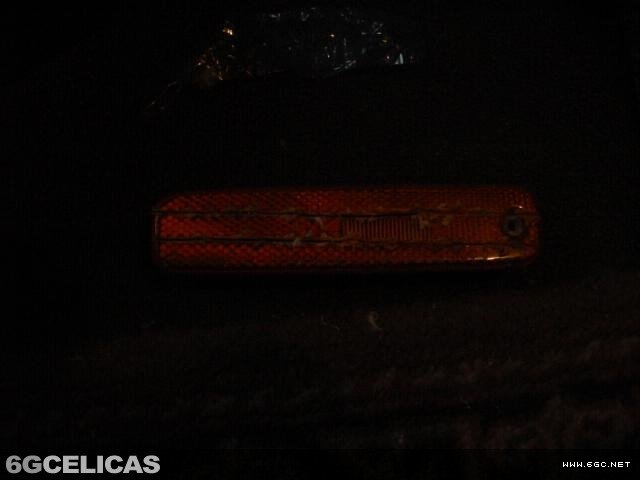
Using your Dremel tool, carefully cut two parallel lines across the amber lens as shown in the reference images. Work slowly and maintain steady pressure to ensure clean cuts. Be extremely careful not to cut into the black plastic housing underneath - you only want to cut through the amber lens material.
Step 3: Remove Amber Lens Material
Use your flathead screwdriver to carefully break out and remove the amber lens material between the cut lines. Work methodically to remove all amber plastic pieces. Take your time with this step to avoid damaging the housing or creating rough edges that will need extensive cleanup.
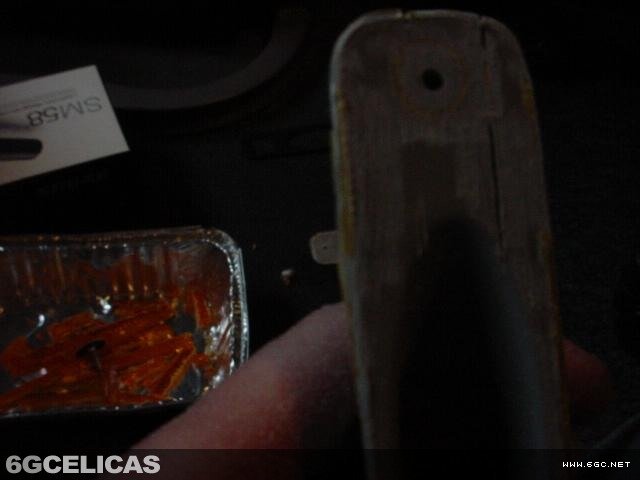
Step 4: Clean and Sand Housing
Use the Dremel with a sanding attachment to smooth down the inside of the housing where the amber plastic was removed. Also sand down the screw hole area until it's completely flush with the housing surface. The goal is to create a perfectly flat mounting surface for the new clear lens.
Step 5: Verify Flat Surface
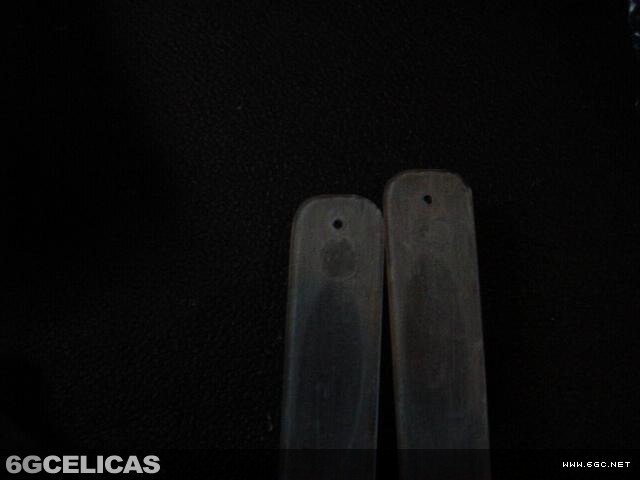
Check that your housing is completely flat and smooth as shown in the reference image. Any imperfections in the mounting surface will telegraph through to the finished product and affect both appearance and seal quality. Sand any remaining high spots until perfectly smooth.
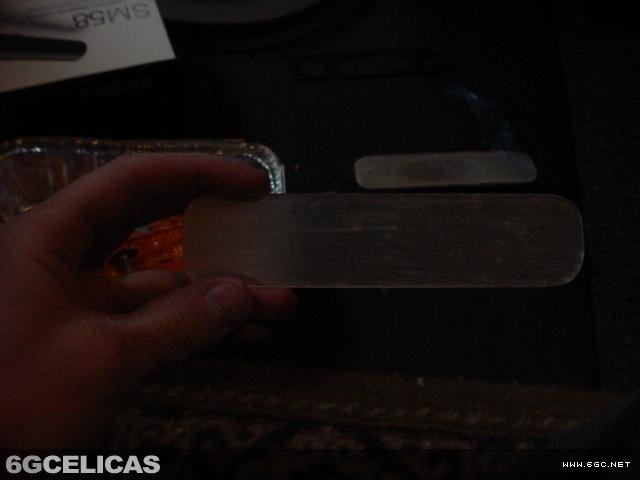
Step 6: Prepare Custom Plexiglass
Obtain pre-cut plexiglass pieces from a glass shop - they can trace your original lens and cut precise replacements. For a subtle frosted effect, lightly sand one side of each plexiglass piece until you can barely see through it. Skip this step if you prefer completely clear "euro-style" sidemarkers.
Step 7: Install Clear Lens
Apply two small spots of hot glue or clear epoxy to each lens, using more adhesive on the side without the screw hole for better support. Position the plexiglass lens on the housing with slight overlap on all sides. Work quickly with hot glue as it sets rapidly. Press firmly to ensure good adhesion.
Step 8: Drill Mounting Hole
Once the adhesive has set, carefully drill a hole for the mounting screw in each lens. Work slowly and use light pressure to prevent cracking the plexiglass. A sharp bit and steady hand are essential for clean holes without stress cracks.
Step 9: Final Installation
Allow adhesive to cure for 10 minutes, then reinstall your new clear sidemarker lights on the vehicle. Insert 194-type bulbs in your choice of colors - clear for pure white light, amber for legal compliance, or colored bulbs for custom effects. Test all functions before final assembly.
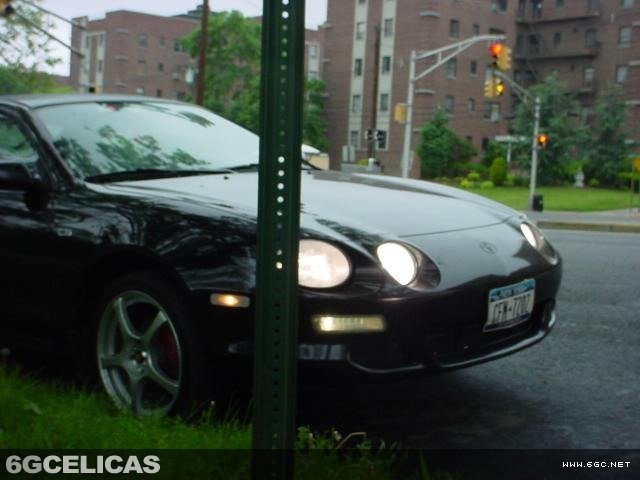
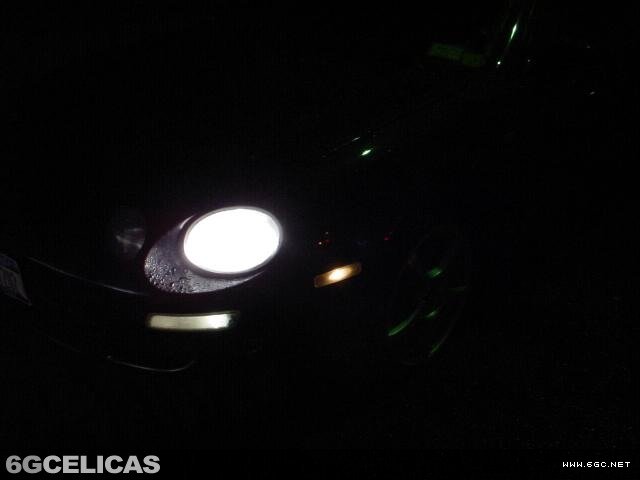
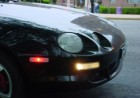
Expected Results
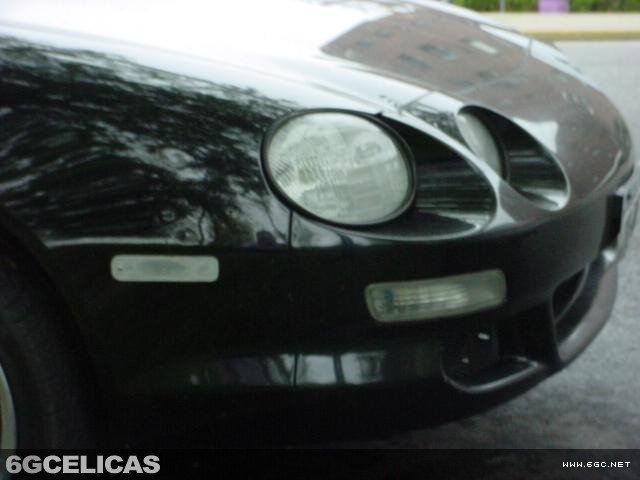
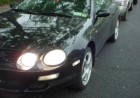
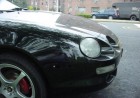
Your completed clear sidemarkers provide a clean, modern appearance that transforms the front end aesthetics of your Celica. The modification maintains full functionality while allowing bulb color customization. Properly executed, the clear lenses should appear as factory equipment with professional fit and finish.
🎨 Customization: Unlimited bulb color choices for personalization
💰 Cost Savings: Fraction of the cost of aftermarket clear sidemarkers
Additional Reference
💡 Pro Tips
- Cutting Precision: Use multiple light passes rather than trying to cut through in one aggressive pass - this prevents chipping and ensures clean edges.
- Glass Shop Benefits: Professional glass cutting ensures perfect fit and eliminates the risk of stress cracks from DIY cutting attempts.
- Adhesive Choice: Hot glue allows repositioning if needed, while epoxy provides stronger permanent bond - choose based on your comfort level.
- Legal Considerations: Check local regulations regarding sidemarker colors - some areas require amber illumination for legal compliance.
- Bulb Selection: 194 bulbs are available in numerous colors including white, amber, red, blue - experiment to find your preferred look.